DECORATIVE FINISH HOW-TO
Persian Blue
Artist: Beth Warnecke
Share this article
PROJECT SUPPLIES:
- Golden Paintworks Weathered Granite
- Golden Paintworks Soapstone
- Golden Paintworks Glazing Gel
- Golden Paintworks Metallic Texture: Tint Base Pearl
- Artistic Paint Studio Foil Size
- Warm Silver Foil, any manufacturer
- Benjamin Moore 900 Rustic Taupe // Satin or Eggshell
- Sherwin Williams: 6219 Rain // Satin and 9135 Whirlpool // Satin
- Painters Tape
- Mixing Containers
- Measuring Tools
- ¾” High Nap Hairy Whizz Roller
- Chip Brushes
- Large Stencil Brush
- Scrubber Brush for Foil
- Neon Leon Brush
- Steel Trowel
- Wallpaper Brush
- Mixer or Drill and Squirrel
- 3M Stencil Spray
- Cool Connections Stencil from Wallovers
INSTRUCTIONS:
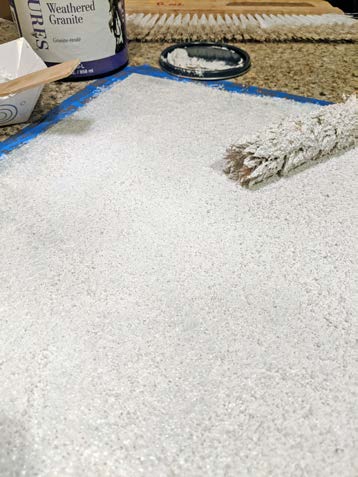
1 | Basecoat with two coats of Benjamin Moore Rustic Taupe, and let dry. Mix Weathered Granite with up to 20% water to thin for rolling. Mix to a whipped consistency. Roll on a medium even coat with the whizz roller, making sure you have stippled peaks from the rolling. Let dry.
(Photo 1)
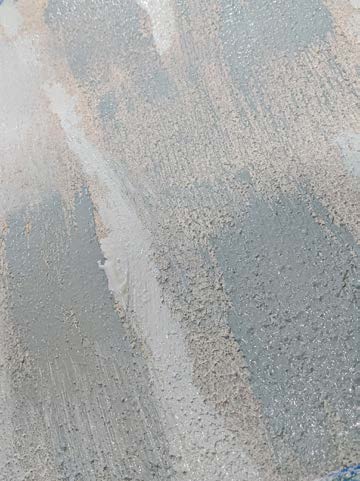
2 | Mix each Sherwin Williams color with the Soapstone with a ratio of 4 parts Soapstone to 1 part paint. It will dry slightly lighter than the paint color. Then add 20% water to each mix to make a thick glazing material. Using chip brushes, brush on each Soapstone mixture in a vertical, organic fashion at 90% coverage.
(Photo 2)
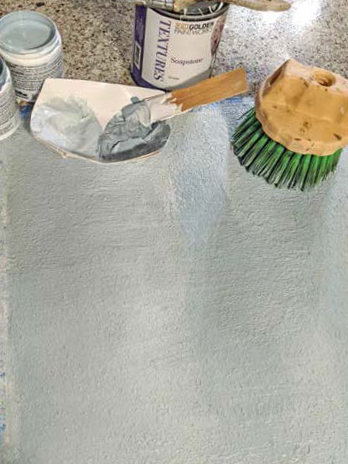
3 | Using the neon leon brush, blend the colors together vertically then horizontally, allowing some glaze to have “threadlike” patterns. Do not over blend, leaving a bit of the original Weathered Granite peaking through. Let dry.
(Photo 3)
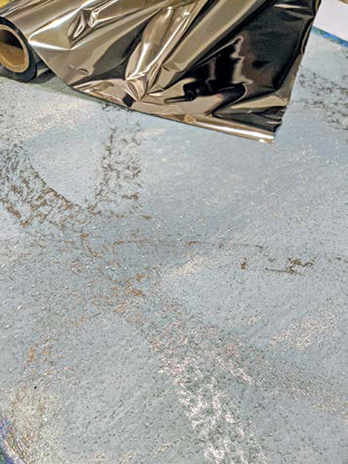
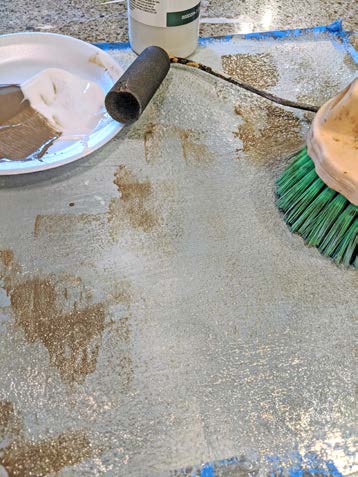
4 | Spray back of stencil with adhesive. After setting up, position stencil and apply foil size generously with a large stencil brush. Do not worry about bleed through. Remove the stencil and using a chip brush, wipe horizontally spreading any extra foil size into thread-like patterns. Let foil size set up and then vigorously scrub foil onto the size, making sure it gets into high dimensional stippled granite. This may require a few passes.
(Photo 4)
5 | Make a mix of Glazing Gel and the original Rustic Taupe base paint at a ratio of 4:1. Also have untinted Glazing Gel ready in a separate tray. Roll on the Rustic Taupe Glazing Gel mix and clear Glazing Gel randomly, scrubbing in with the leon neon, making sure to have organic light and darker areas of glaze. Let dry.
(Photo 5)
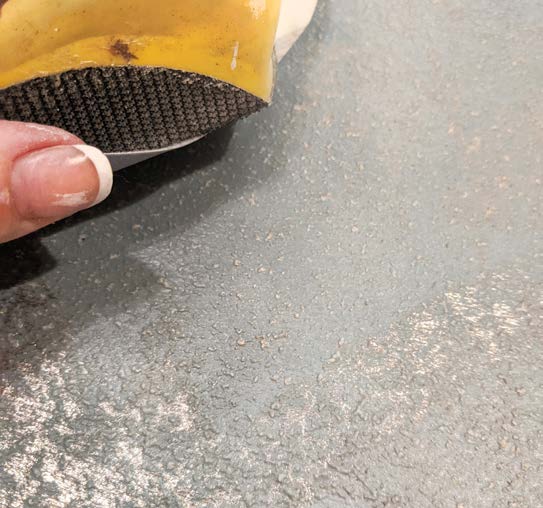
6 | Sand the peaks with 220 grit sandpaper (using a sander for large areas) to reveal the original untinted weathered granite.
(Photo 6)
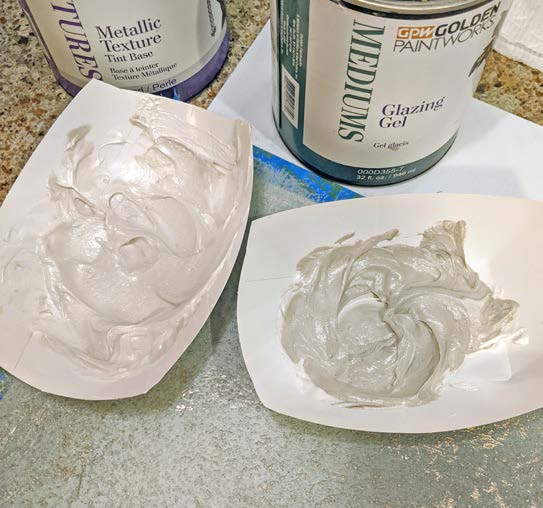
7 | Make two mixes using the Metallic Texture Tint Base Pearl with the original Rustic Taupe paint basecoat:
a) One very light mix looking like a creamy pearl, and
b) One slightly darker, close to a light taupe.
(Photo 7)
Featured Products
About the Artist
Beth Warnecke is the owner and artist behind Classic Creations Painting, providing beautiful wall and ceiling finishes for commercial and residential spaces in the metro St. Louis, MO area. She has a passion and love for fine finished furniture and cabinetry, which comprises half of her business. Always immersed in the latest design trends and gorgeous pictures, she considers staying up to date with the latest design trends one of her top priorities when bringing timeless beauty into clients’ homes.
Learn more about Beth in our Behind the Texture artist feature series.
More from this artist
Looking for more inspiration? Click here to view all of the decorative finishes from our Limited Edition Collections.

