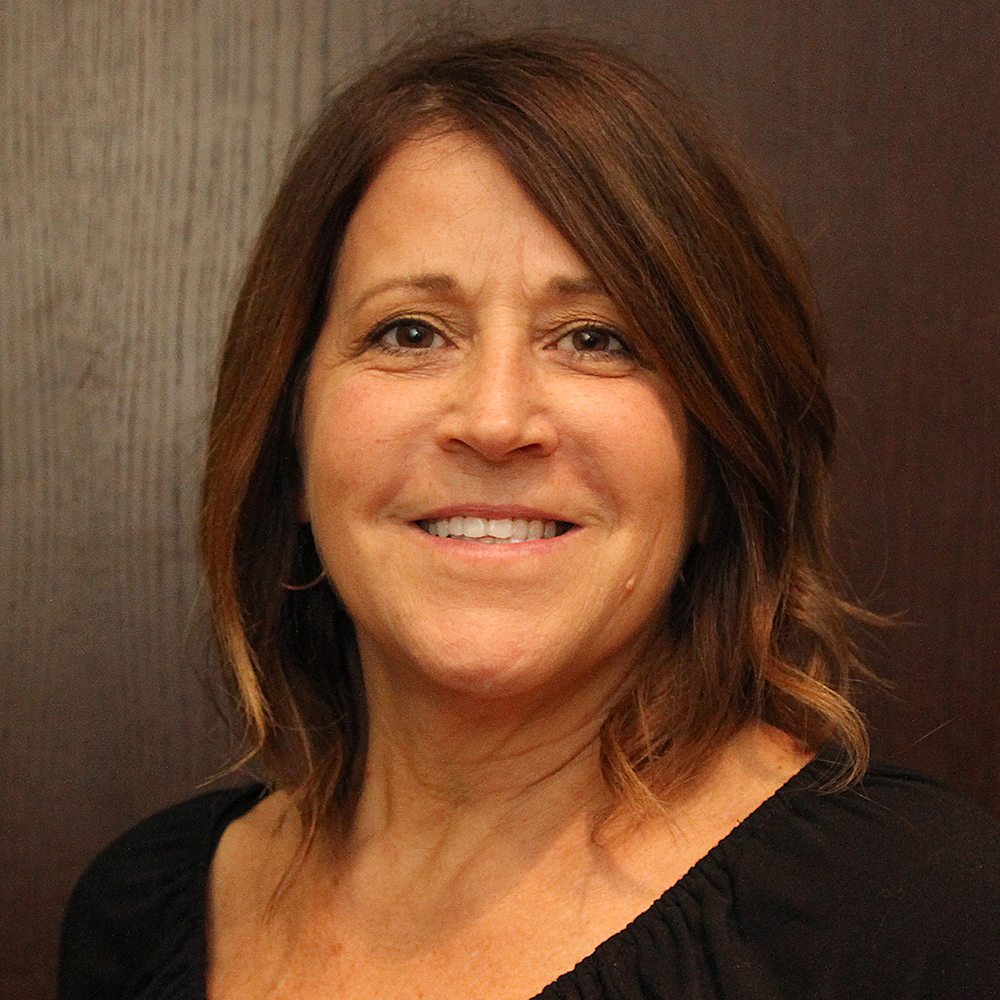

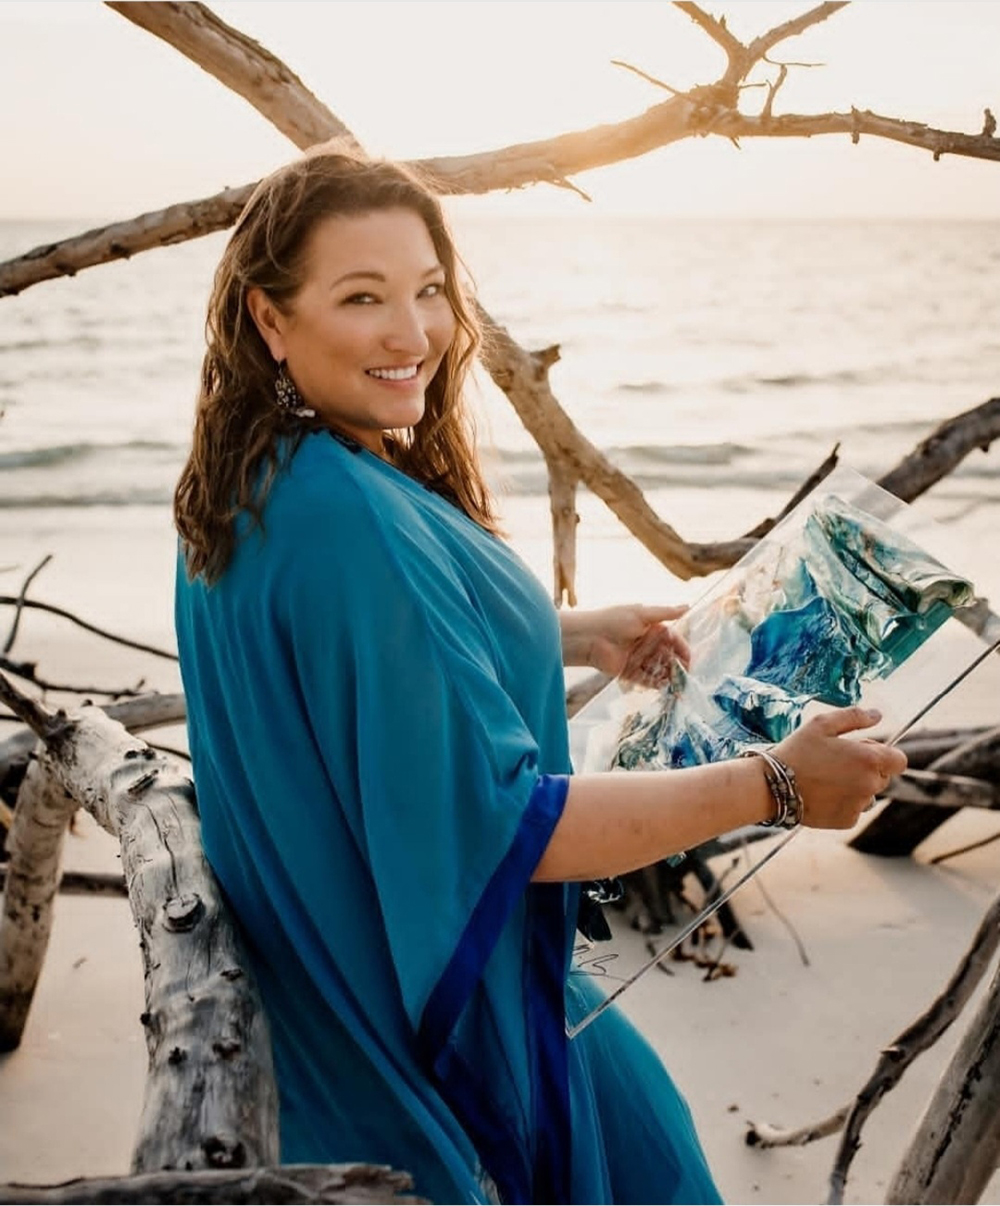
About the Artist
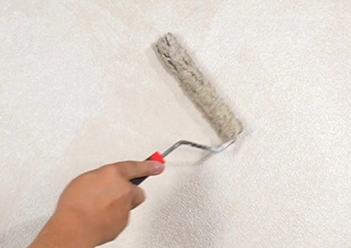
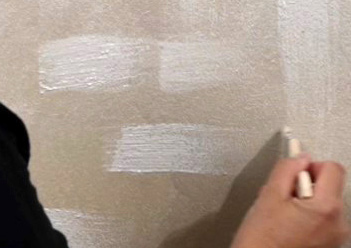
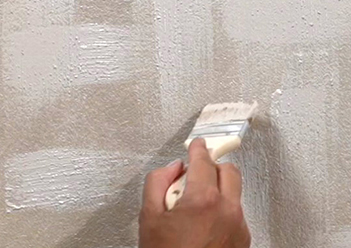
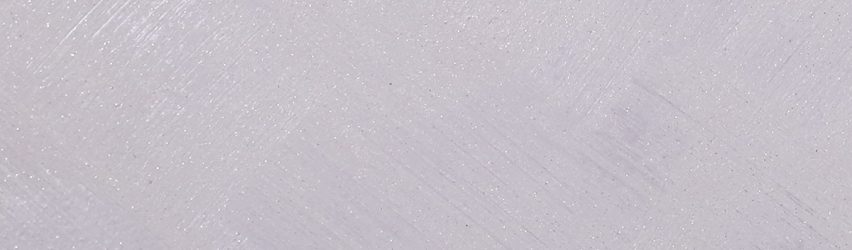
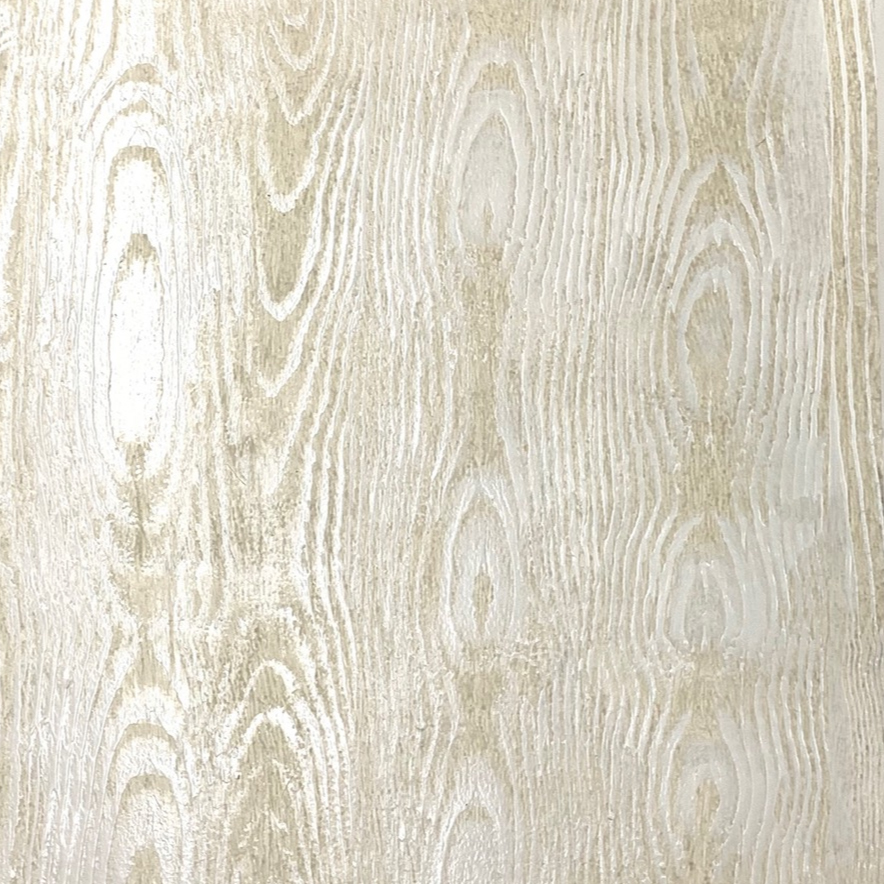
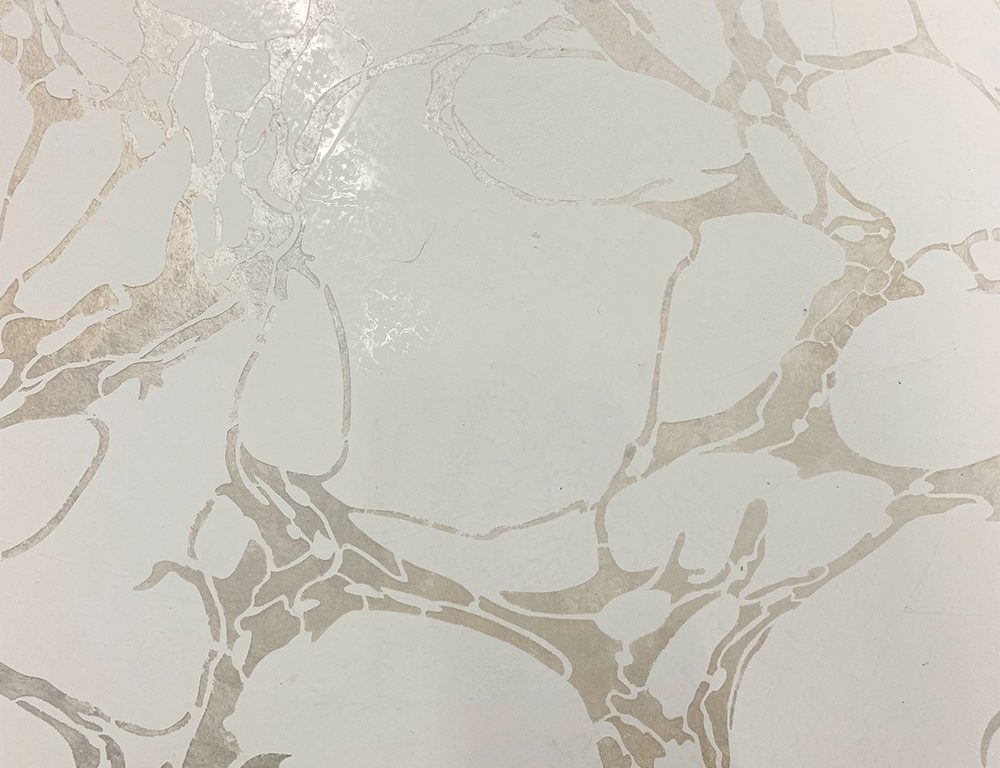
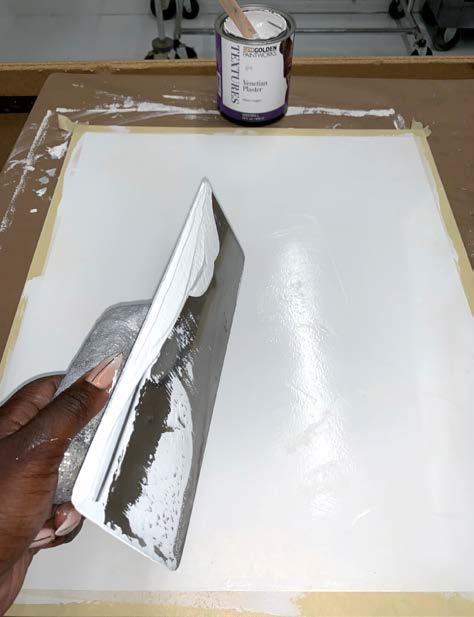
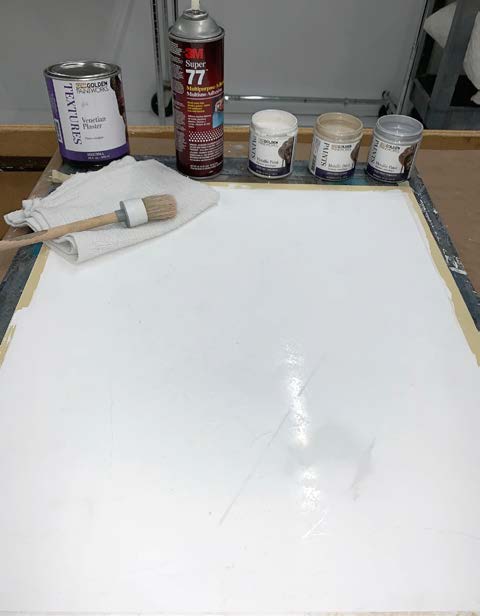
Shiree, of Shiree Nichole Designer Finishes LLC, based in Naples, FL, has been in the faux art industry for over twenty years. The oldest of four girls, born in Newport Oregon and growing up in southwest Montana. She comes from a hard-working family with her father as a logger and later owning a drywall business. All four girls worked in drywall and much of Shiree’s knowledge and love for texture comes from working with her father. Shiree loves learning about new products, techniques and the chemistry behind the product. Shiree believes there is nothing like on-the-job training, experimenting, and she’s always open to learning something new. Shiree loves the diversity of finishes she creates and the collaboration she has with designers and decorators. In addition to her work creating decorative finishes, Shiree began honing her fine art skills in 2006 with oils on canvas and over the years has expanded to abstract acrylic art on Lucite and watercolors.
Learn more about Shiree in our Behind the Texture artist feature series.