


About the Artists
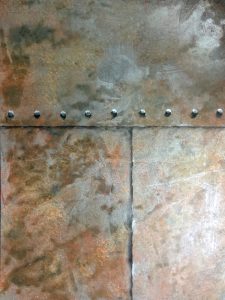
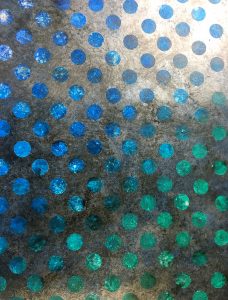
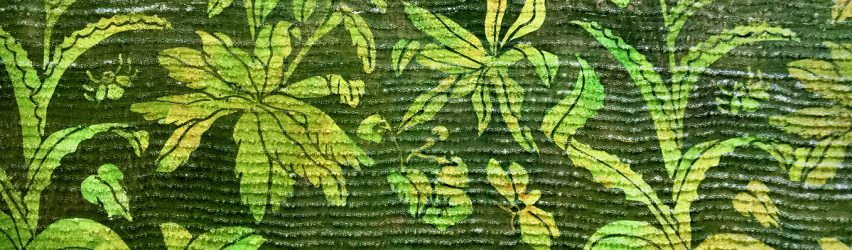
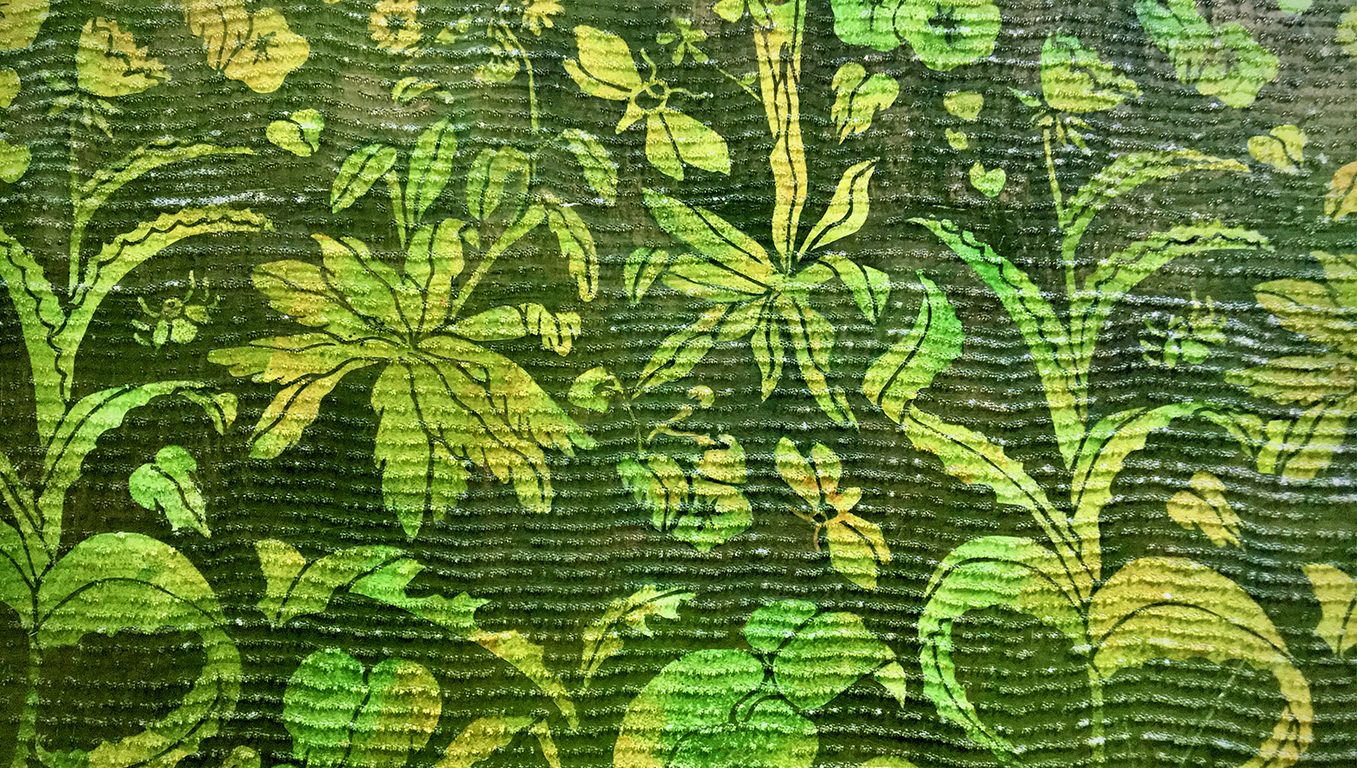
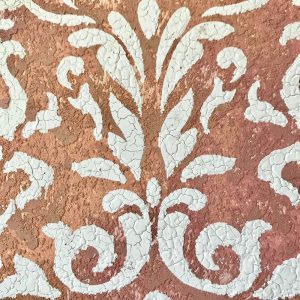
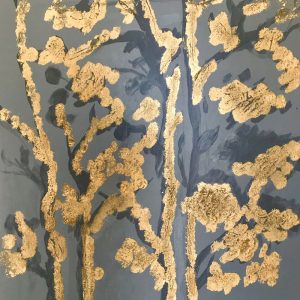
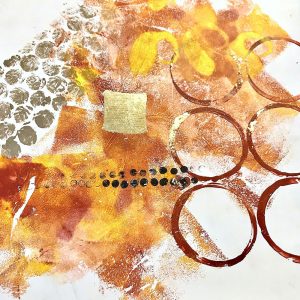
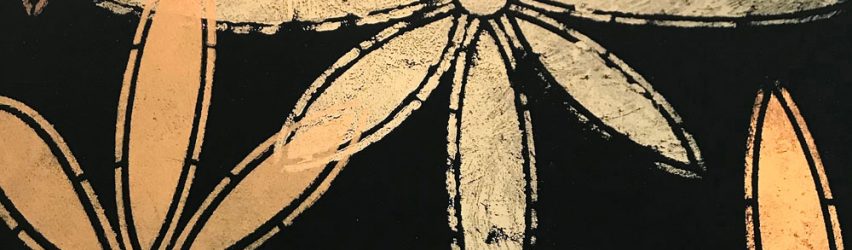
Amiel and Stephanie Mesner are a husband-and-wife team of fine artists who turned their love and knowledge of the fine and decorative arts into a company with over thirty-five years of experience, creating custom surface designs for the architectural and interior design industry. Arteriors, based in Natick, MA, handles professional design projects from idea and design creation through to finished application in a versatile, detail-oriented, expert manner. Dedicated to using eco-friendly decorative paint and plaster materials that are not only beautiful when applied, but responsible, Arteriors applies water-based paints and lime-based plasters, such as Venetian plasters, and American clay surface finishes which are safe, natural, and sustainable and can improve indoor air quality.