DECORATIVE FINISH HOW-TO
Soapstone Tile
Artist: Jess Kollar
Share this article
PROJECT SUPPLIES:
- Golden Paintworks Slow Dry Fluid Acrylics: Red Oxide, Raw Sienna, Quinacridone Magenta, Burnt Umber, Raw Umber, and Carbon Black
- Golden Paintworks Soapstone
- Golden Paintworks Glazing Medium
- Mixing Cups and Stirrers
- Cloth Rag
- Fine Artist Brush
- Steel Plaster Trowel
- Scissors
- Clear Mylar Sheet
- Stencil Adhesive
INSTRUCTIONS:
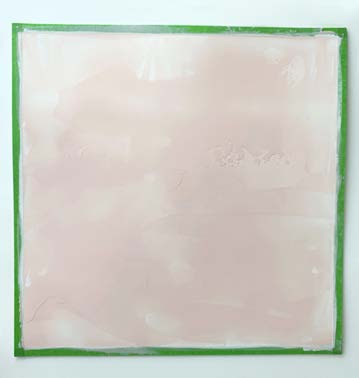
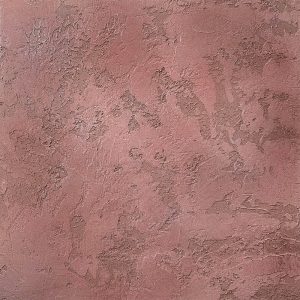
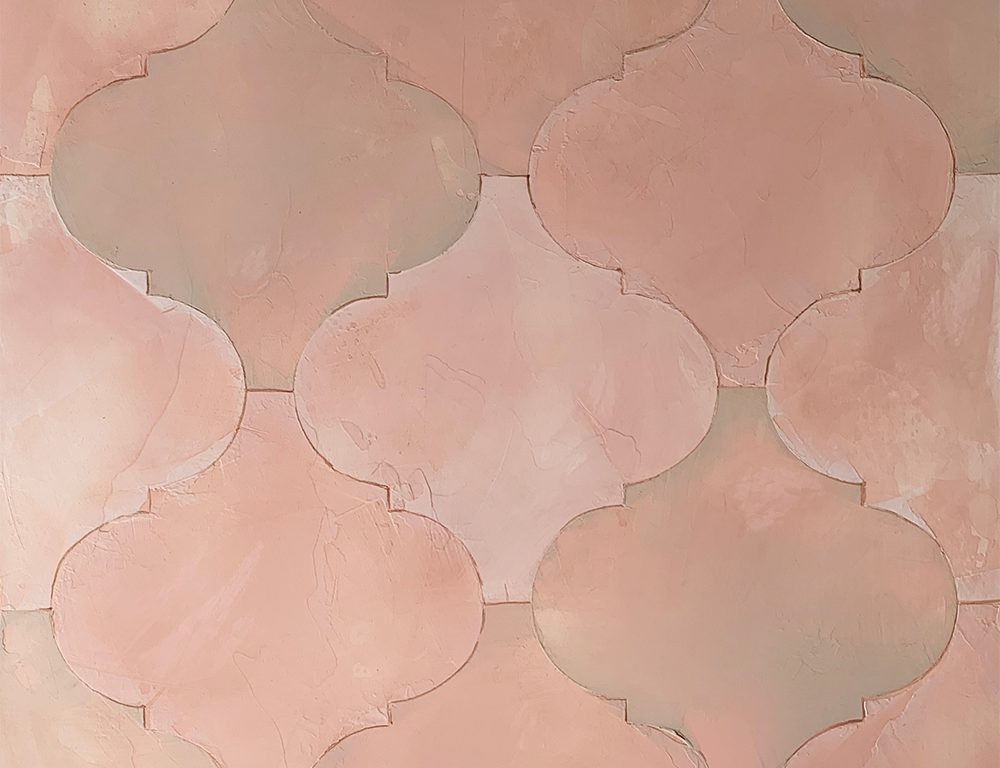
1 | Mix Red Oxide, Raw Sienna, Quinacridone Magenta, and Burnt Umber Slow Dry Fluid Acrylics into the Soapstone until desired color is achieved. I used a custom pink coloration. The tinted Soapstone will dry a few shades darker. Trowel a thin layer across surface. Let dry.
(Photo 1)
2 | Trowel a second layer across surface. Let dry.
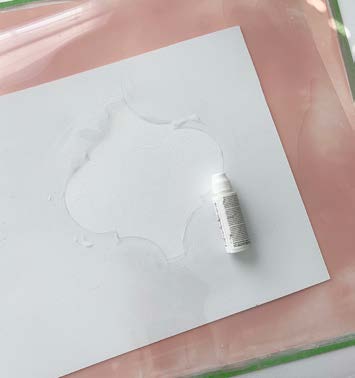
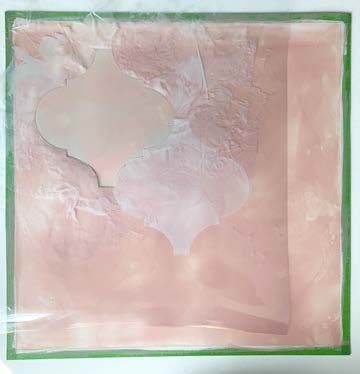
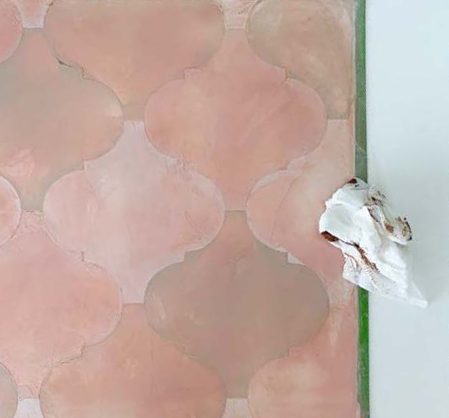
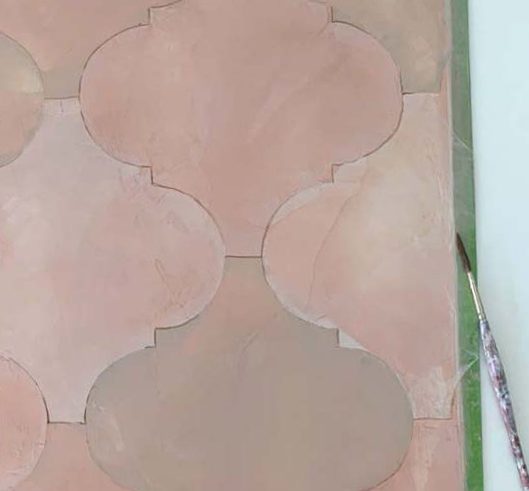
3 | Cut your desired tile stencil shape in a clear mylar sheet. Apply stencil glue to one side and let dry a few minutes. Lay your stencil, glue side down in the center of your area. Press firmly.
(Photo 2)
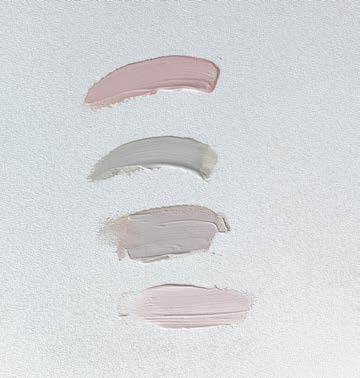
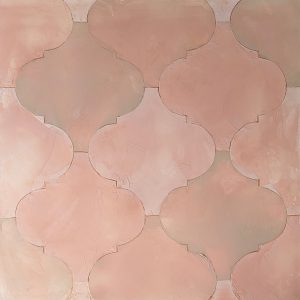
6 | Tint more Soapstone with a little Raw Umber, Raw Sienna, and a hint of Carbon Black. In another container, take half of this new mixture and mix equal parts with your original custom pink Soapstone color. You can create more custom colors by mixing the new and original Soapstone colors together and creating new complementary ones. The swatches show the original pink, the new mixture and then the 2 mixed together. The fourth color swatch mixture is also used on the stencil.
(Photo 5)
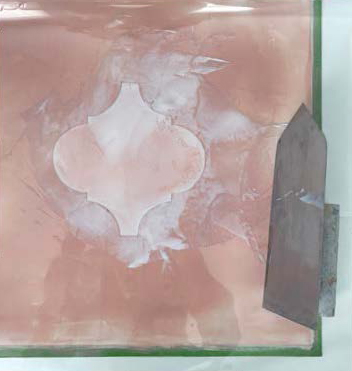
7 | Place stencil down next to the area you completed. Trowel Raw Umber, Raw Sienna, and Carbon Black mixture on the stencil. Remove stencil gently.
(Photo 6)
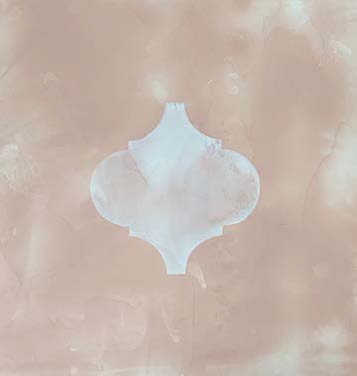
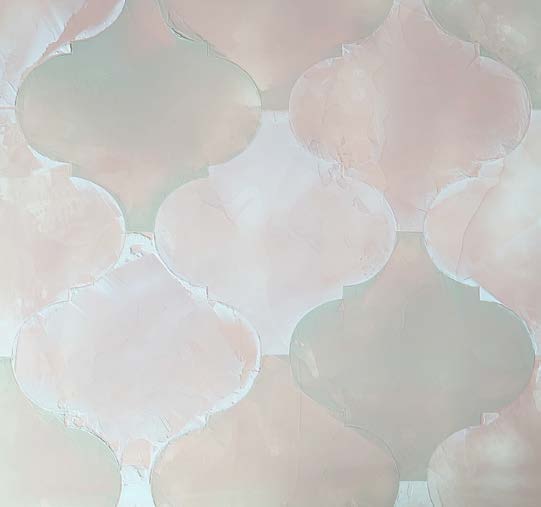
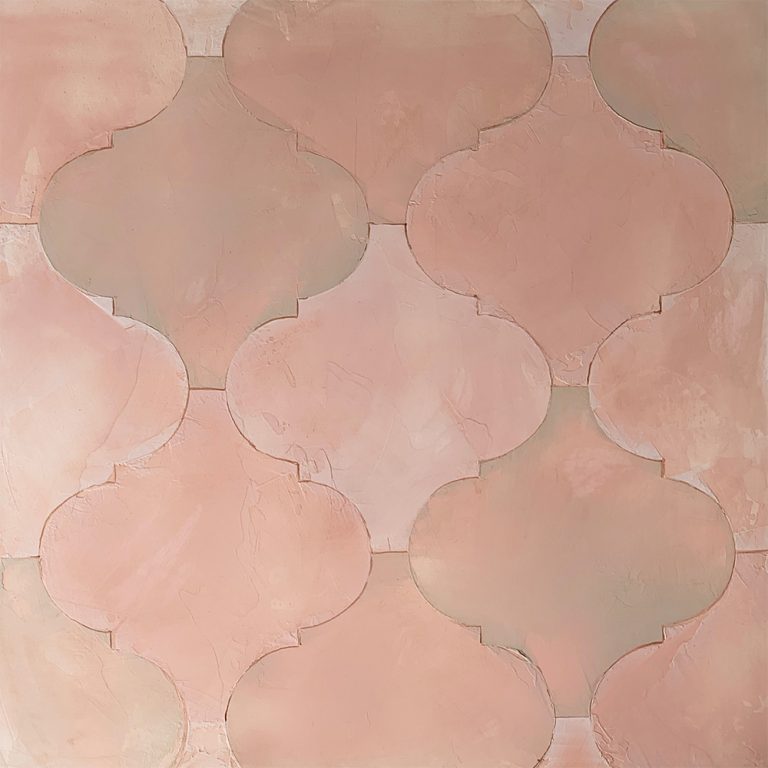
8 | Stencil the other areas with the other mixed colors as well as the untinted Soapstone. You can also use the original pink color in your design for the third layer. I added untinted Soapstone to make it lighter. Let dry.
(Photo 7)
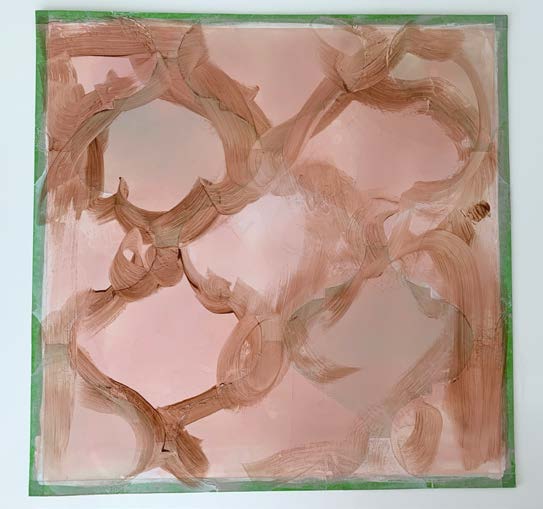
9 | Mix one part Burnt Umber Slow Dry Fluid Acrylics to 4 parts Glazing Medium. Brush along the edges on the “tiles” randomly.
(Photo 8)
Featured Products
About the Artist
Jess Kollar specializes in decorative painting and plaster techniques. Her love for mural painting first brought her into the industry, and her passion grew with each job she completed. Jess’s business, Jess Artistic Designs, is based in Charleston, South Carolina. Learn more about Jess’s work at jessartisticdesigns.com.
More from this artist
Looking for more inspiration? Click here to view all of the decorative finishes from our Limited Edition Collections.

