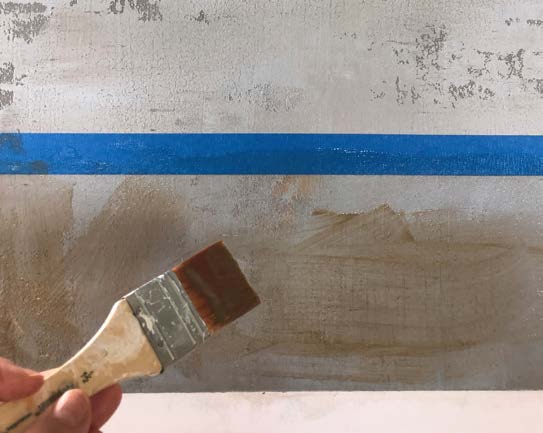
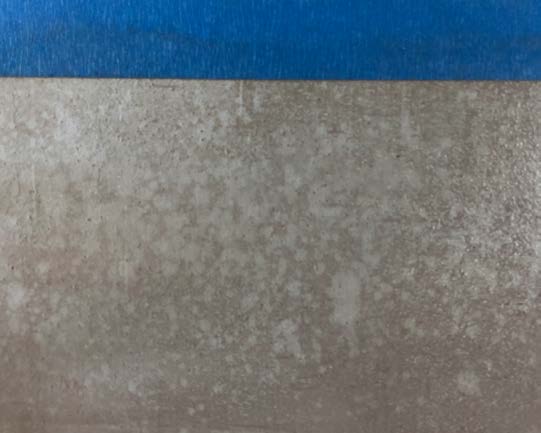
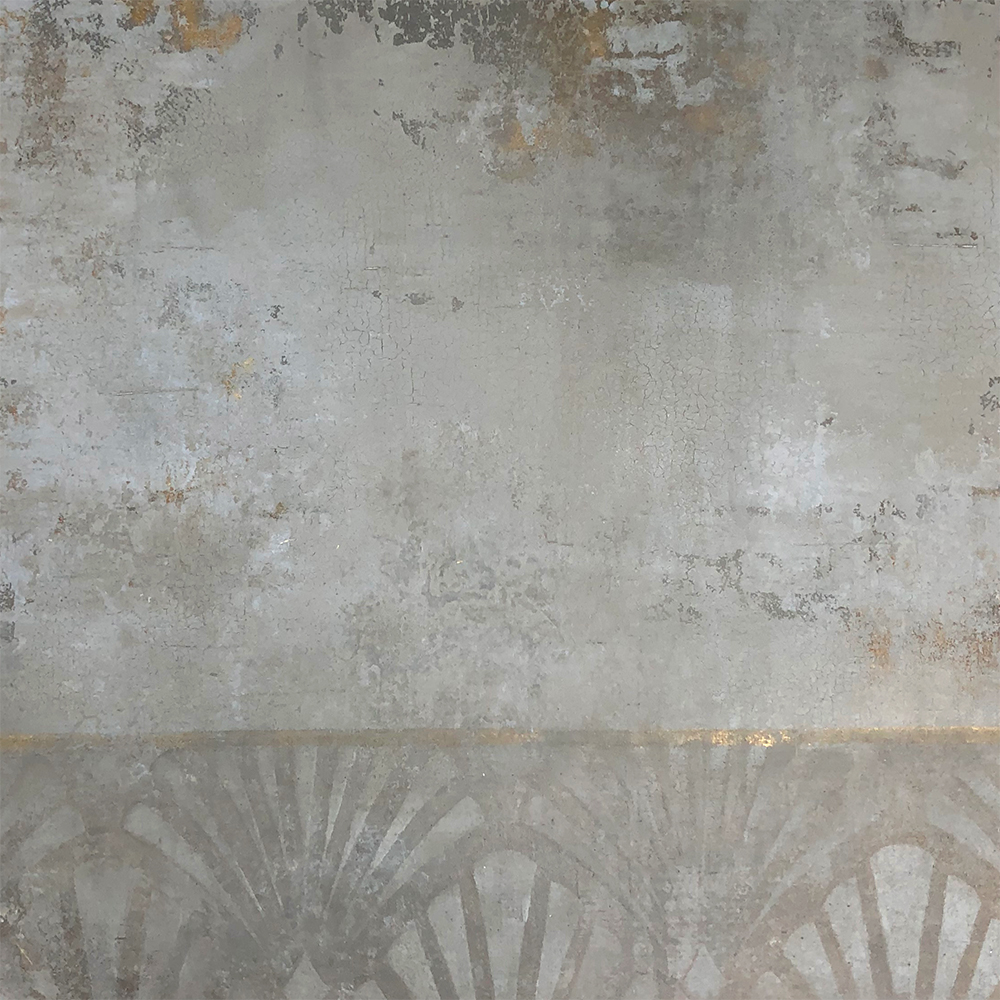
"Woodward" decorative finish
DECORATIVE FINISH HOW-TO

Woodward

Artist: Robin Belisle

Share this article

PROJECT SUPPLIES:

INSTRUCTIONS:

NOTE: All mixed colors below will reference a Benjamin Moore paint color where needed to guide you while you are mixing your colors. They are for reference only.

1 | Start with a clean dry surface that is at least
primed any color.

2 | Mix the Weathered Granite to a color close to Benjamin Moore 1599 Marina Gray using Slow Dry Fluid Acrylics in Van dyke Brown Hue, Phthalo Blue (Green Shade), and a small amount of Carbon Black. You’re just looking for a basic mid-tone cement color.

3 | Trowel all areas with a combo of the above mixture and a small amount of untinted Weathered Granite. Apply them both to your trowel and cover the surface. This provides more interesting areas to work around in the next steps.
(Photo 1)

4 | Mix a custom color glaze with the Glazing Medium and Raw Sienna, Van Dyke Brown Hue, and small amount of Purple Dioxazine. (The Purple Dioxazine is very strong, use sparingly). It produces a warm faded color tint. Keep a bit aside for use later. Using your chip brush, lightly brush in vertically in some areas just to add some color. This is random spacing but shoot for approximately 10% coverage over your surface. Some areas should have larger areas tinted than others. Let dry.
(Photo 2)

5 | Dip your sea sponge into the Pre-Mixed Metallic Paint in Roman Gold and dot it into some of the tinted surface areas from previous layer. If necessary, flatten and smash into crevices with trowel. Let dry.
(Photo 3)

6 | Mix 3 separate 1/3 cup batches using the Venetian Plaster in the following colors:

  • Benjamin Moore1530 Senora Gray using the Slow Dry Fluid Acrylics in Raw Sienna, Raw Umber, Titanium White, and very small amount of Carbon Black
  • Benjamin Moore1550 Cumulus Cloud using Slow Dry Fluid Acrylics in Van Dyke Brown Hue, Titanium White, Phthalo Blue (Green Shade), and a small amount of Carbon Black
  • Benjamin Moore 1592 Blue Springs using Slow Dry Fluid Acrylics in Phthalo Blue (Green Shade), and a small amount of Dioxazine Purple, Van Dyke Brown Hue, Titanium White, and Carbon Black.

7 | Using 2 of the mixed colors from Step 6 — not mixed together but separately on your trowel at the same time — begin troweling around the texture and color pockets you created previously with the color glaze and Roman Gold Metallic Paint. Start by dotting onto your surface to offload your trowel and as you near being empty on them, use the remaining plaster to dot into your previously created pockets. (You shouldn’t avoid the pockets, but you don’t want to start dotting in a pocket with a fully loaded trowel as this will fill in too much).
(Photo 4)

Once your trowel is offloaded, smooth down or flatten the plaster by pulling with the trowel horizontally and vertically. Continue in this manner until all areas are covered, changing between the 3 plasters randomly, any two in a combination on your trowel. Fill in areas of your pockets until they are pleasing in composition. Let dry.

8 | Reapply mixed color glaze and/or the Roman Gold Metallic Paint to taste, as well as another pass on the plasters, applying in the same manner as above until you are satisfied with the look. Let dry. Note that some of these areas will crackle on their own.

9 | Fresco: I wanted a fresco type look so I taped off an area along the bottom and used the tinted glaze from Step 4 to fully fill in the area below the tape line.
(Photo 5)

Terry towel to soften, lightly mist with Windex, count to twenty and blot with terry towel and immediately start to lightly pull in all directions with the sponge applicator. It will pull off where the Windex has bitten in but keep in mind you are not going for complete removal.
(Photo 6)

You are trying to have a very weathered effect. Let dry and then stencil with the Art Deco pattern with the color glaze, using a small amount more of Raw Umber and Van Dyke Brown Hue. Lightly blot and fade with terry towel and pull stencil carefully. Clean up any edges and let dry.

Here’s the final texture.
(Photo 7)

Featured Products

About the Artist
Robin Belisle, owner and Decorative Artist at Faux Couture, is a self taught artist who began her decorative painting career in 1998 after an extraordinary encounter with a faux finishing class. From there, she made a pointed decision to become the best decorative painter she could be and searched out award winning designers and builders to work with. She has traveled to Italy, Paris, many times to Morocco and all over the world leaving her mark on homes and hotels in need of artistic interpretation. This in turn has helped her hone her craft and create many signature finishes based on her travels. She has been featured in magazine articles, trade shows and the local news as trends to watch. She began teaching in her own studio and then taught many classes across the US. She joined the Board of Directors for the International Decorative Artisans league (IDAL) as education chair. As that chapter drew to a close, she knew she would eventually be teaching more. She has since joined other instructors on THE PAINT HIVE teaching online decorative painting classes.

More from this artist

Looking for more inspiration? Click here to view all of the decorative finishes from our Limited Edition Collections.