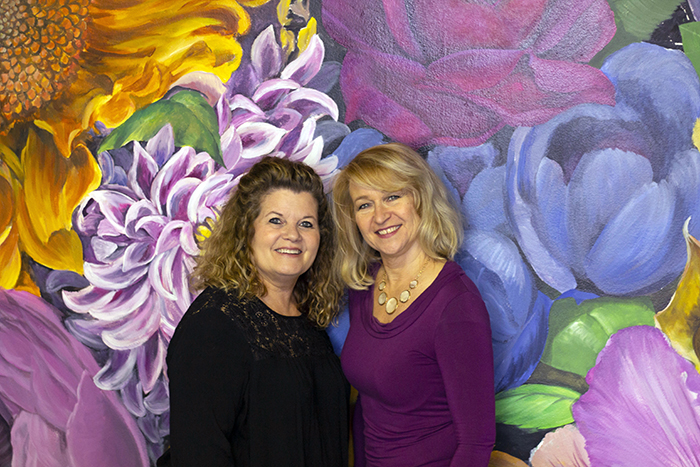
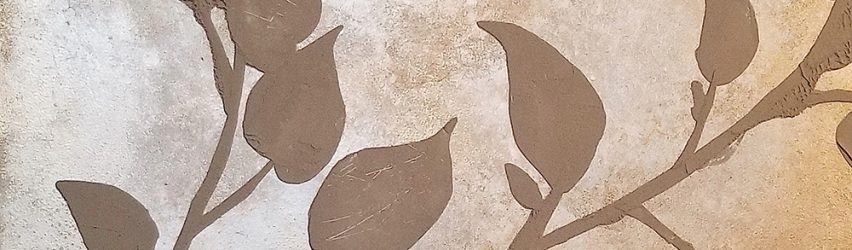
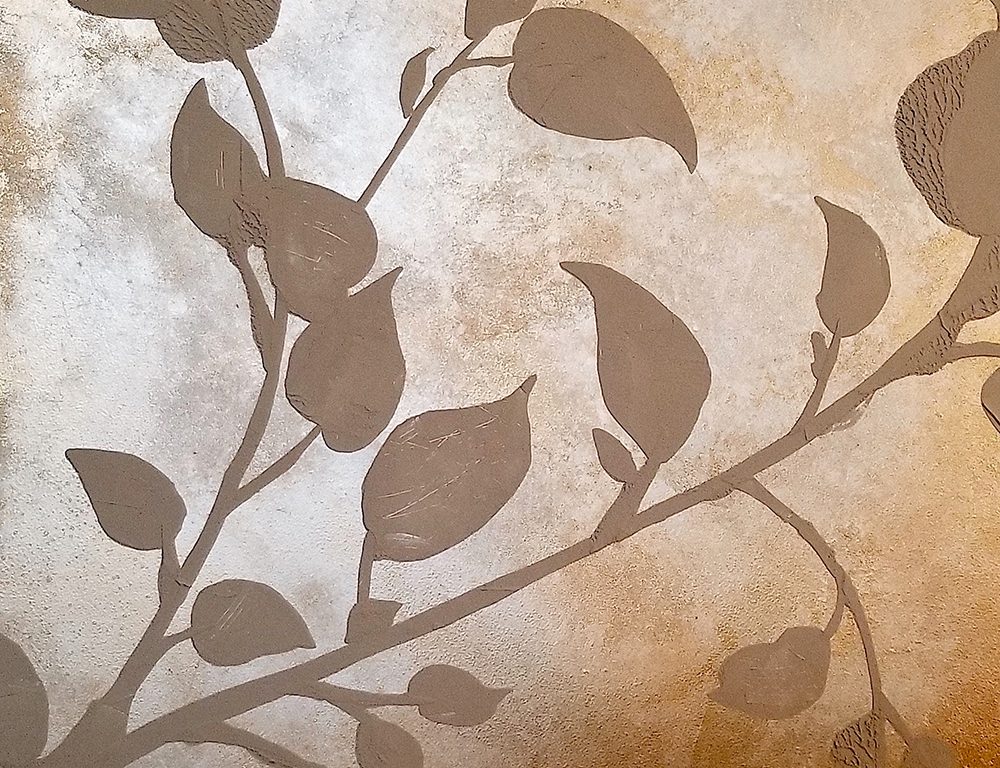
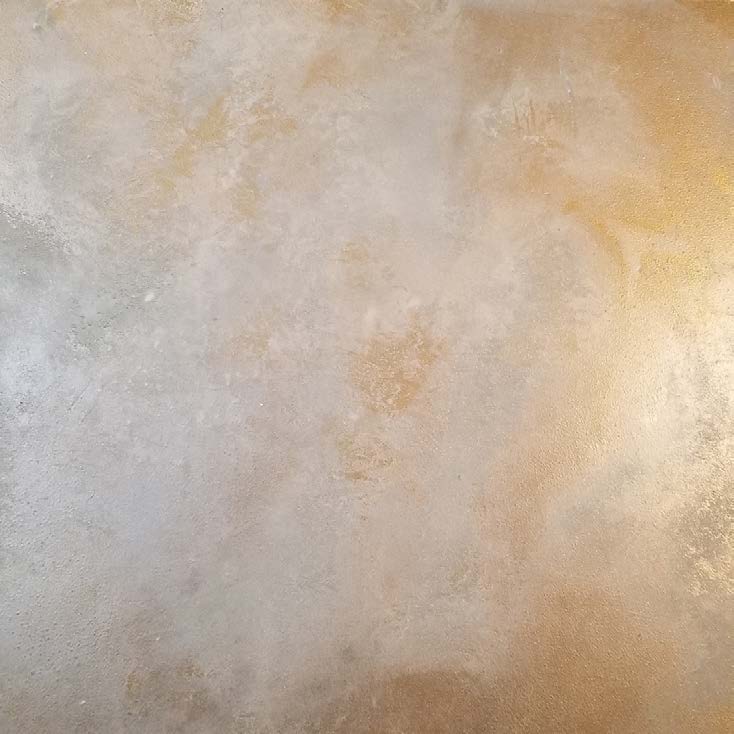
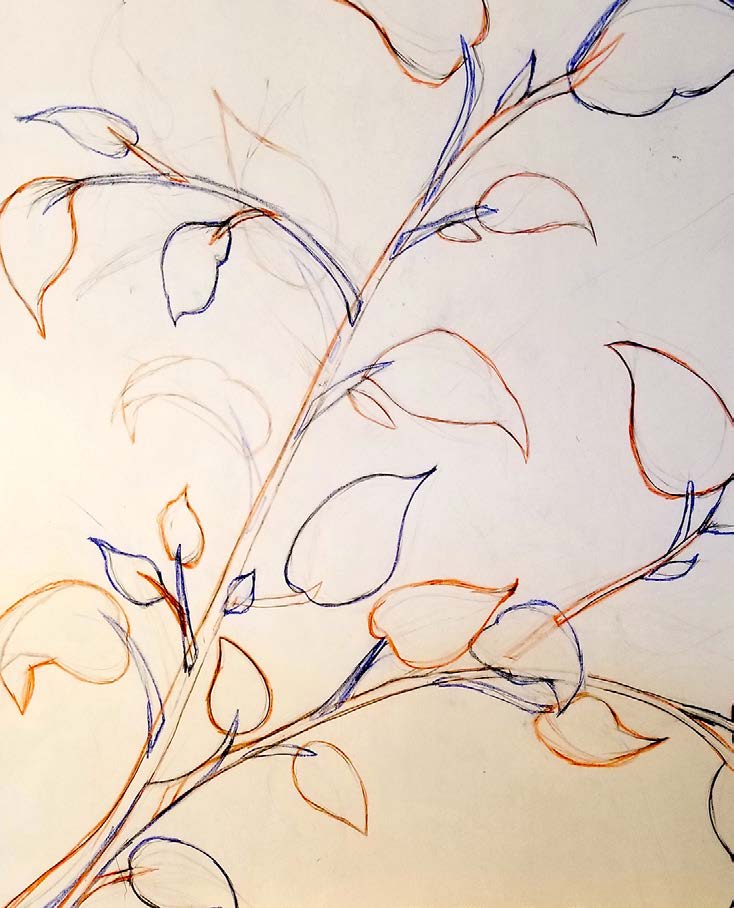
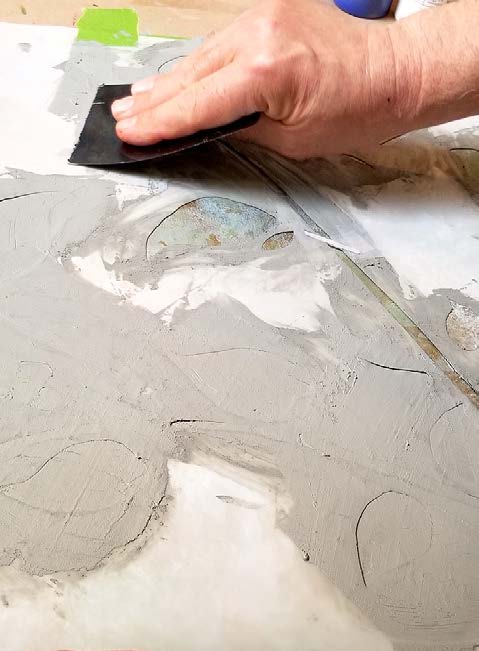
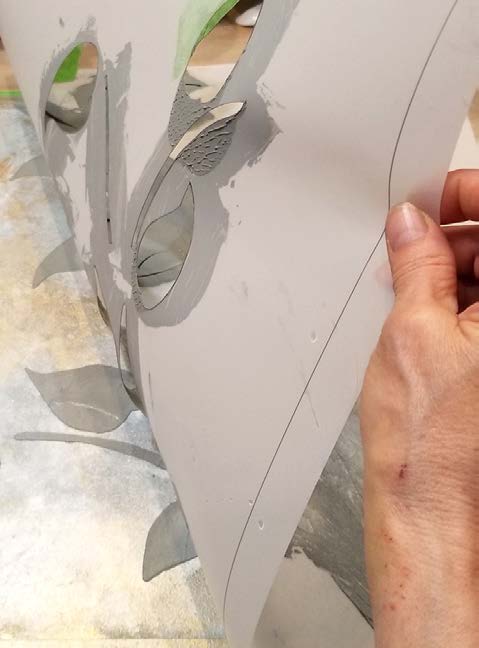
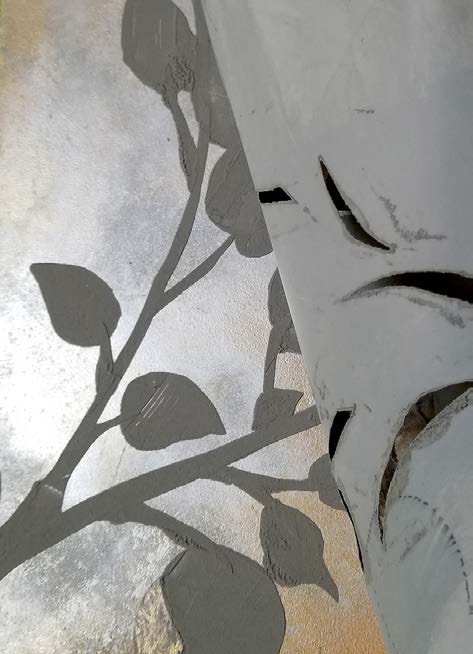
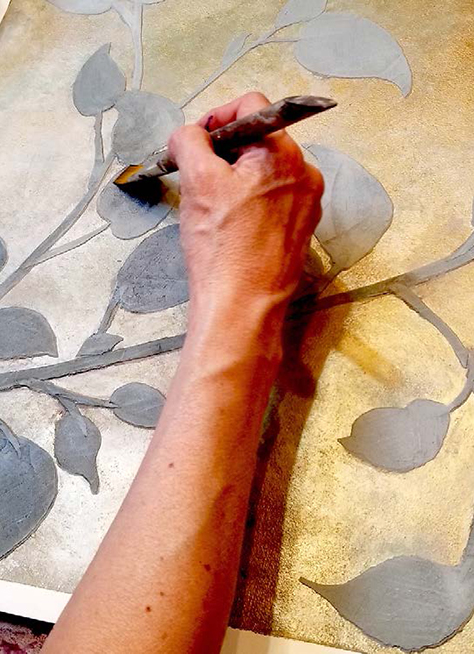
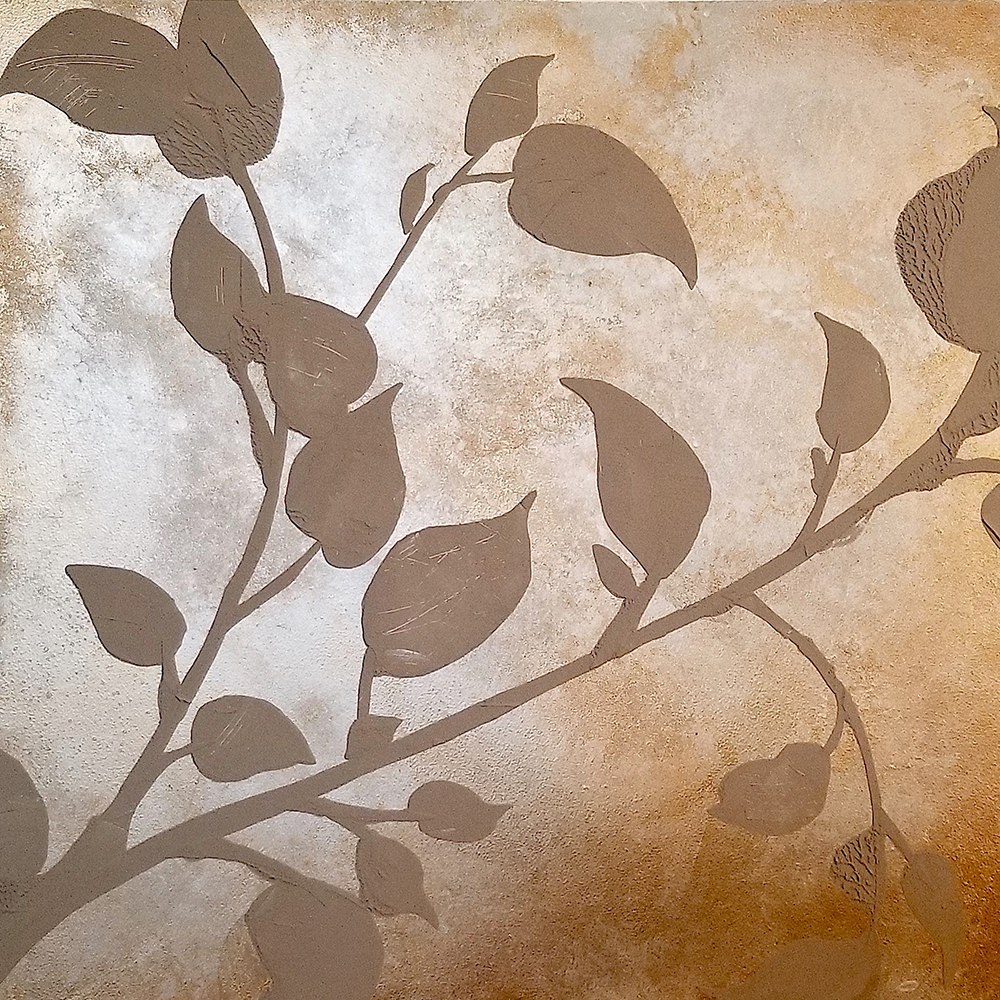
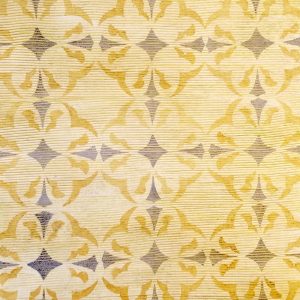
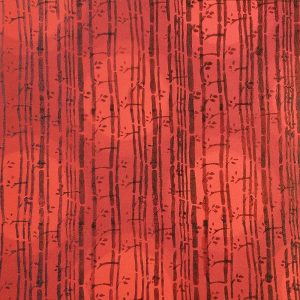
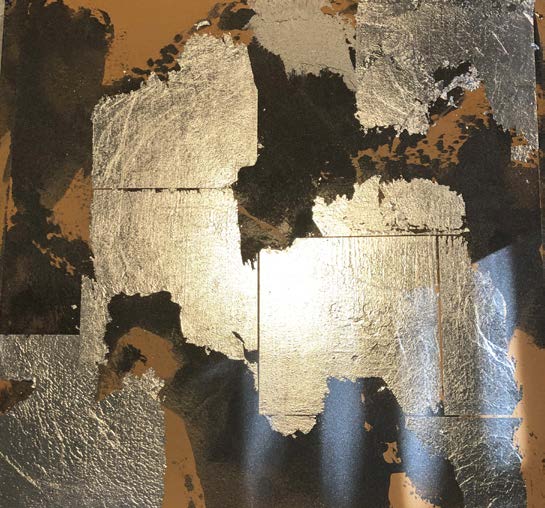
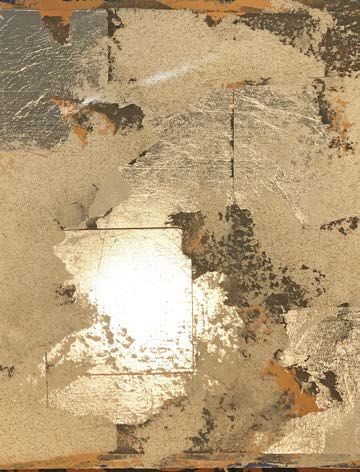
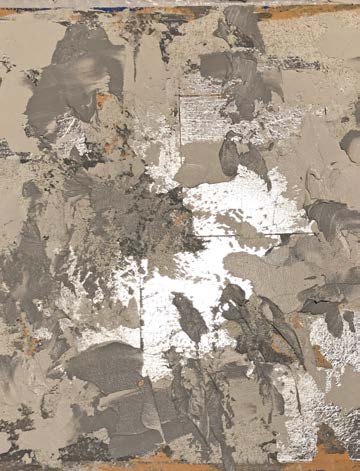
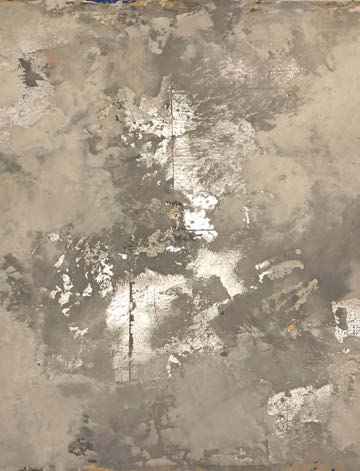
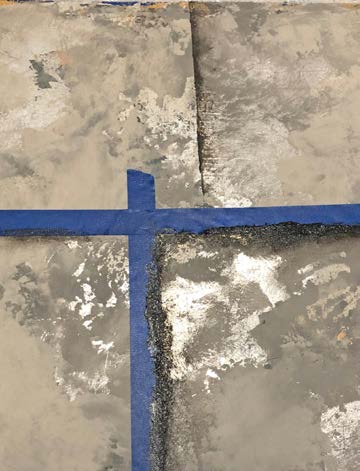
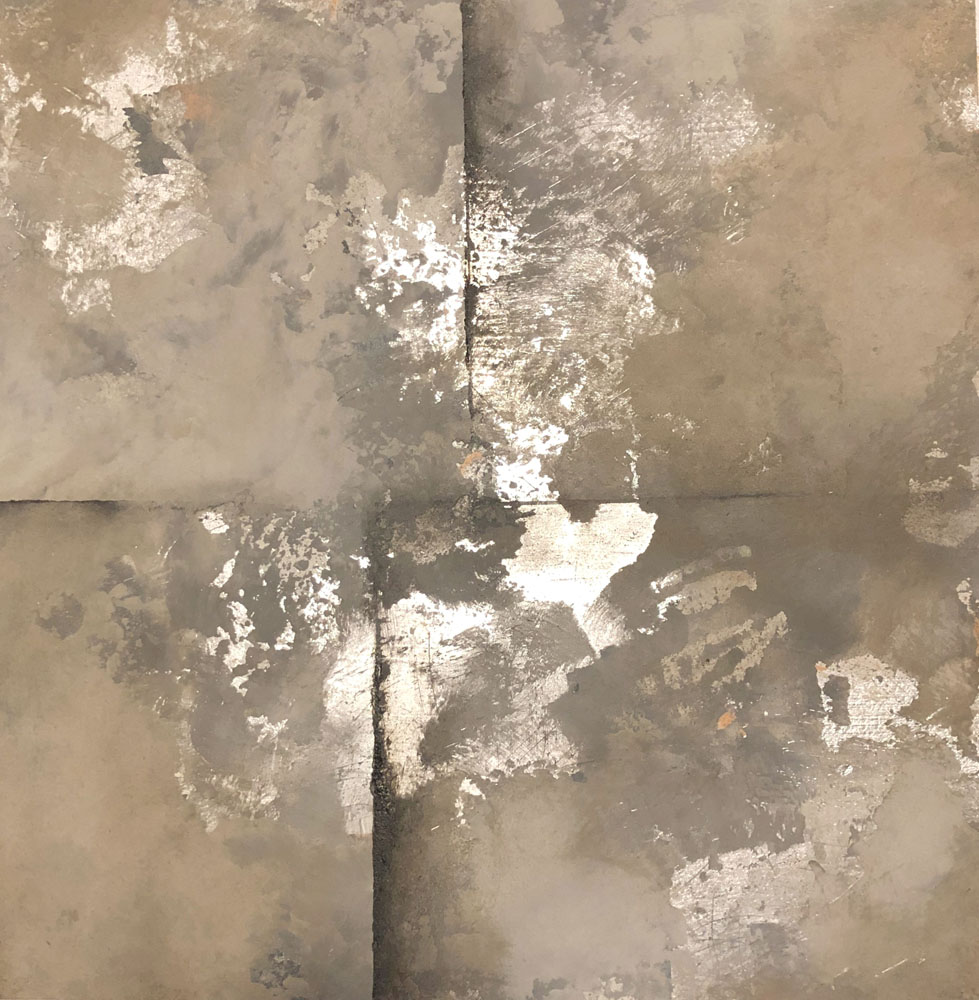
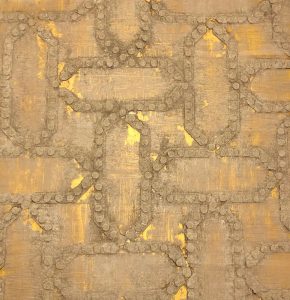
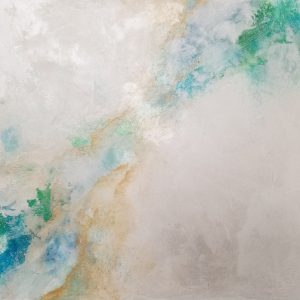
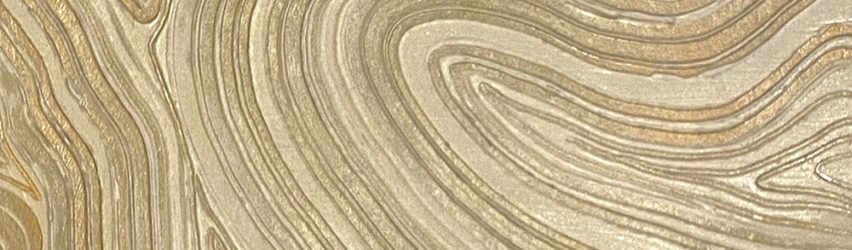
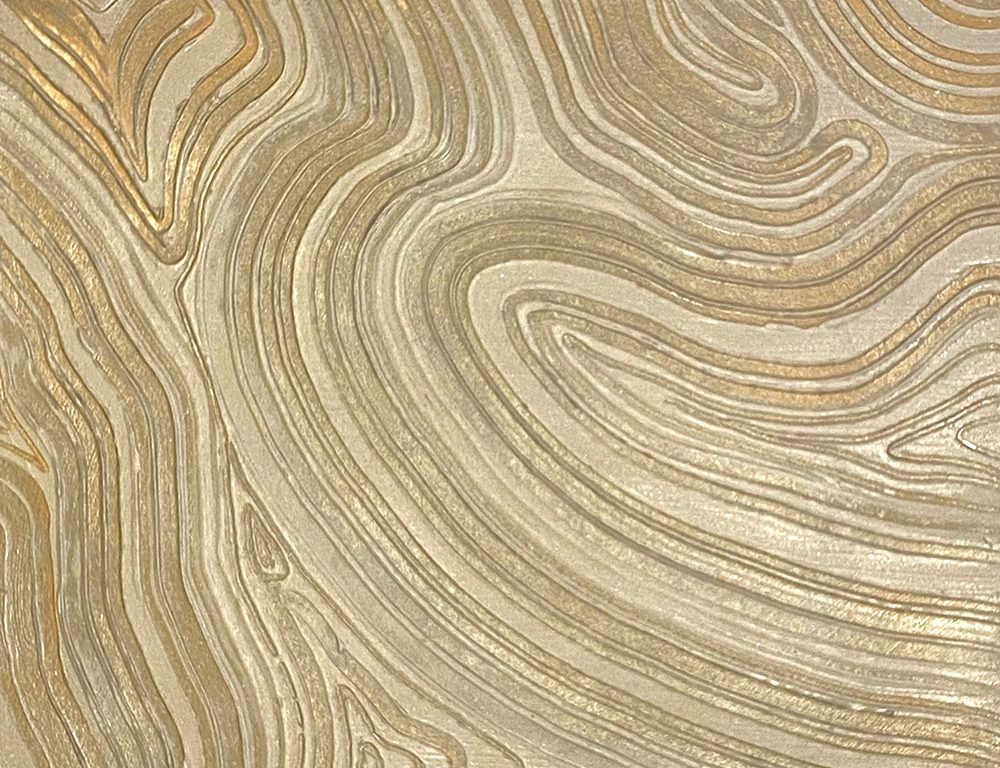
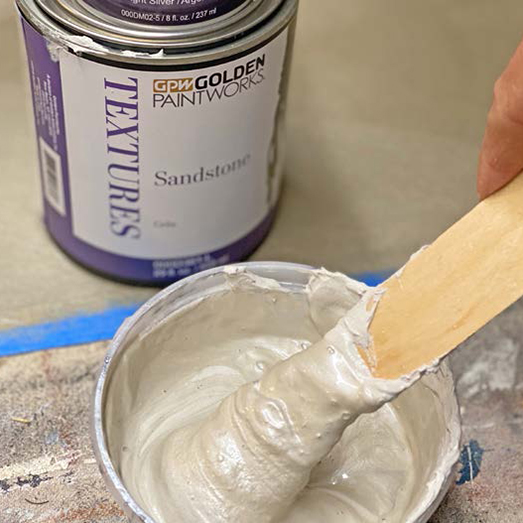
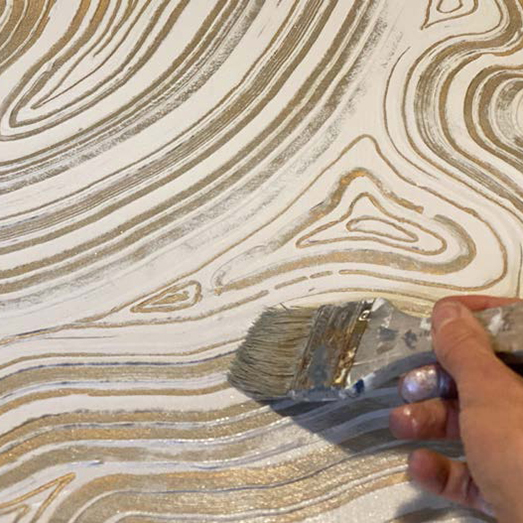
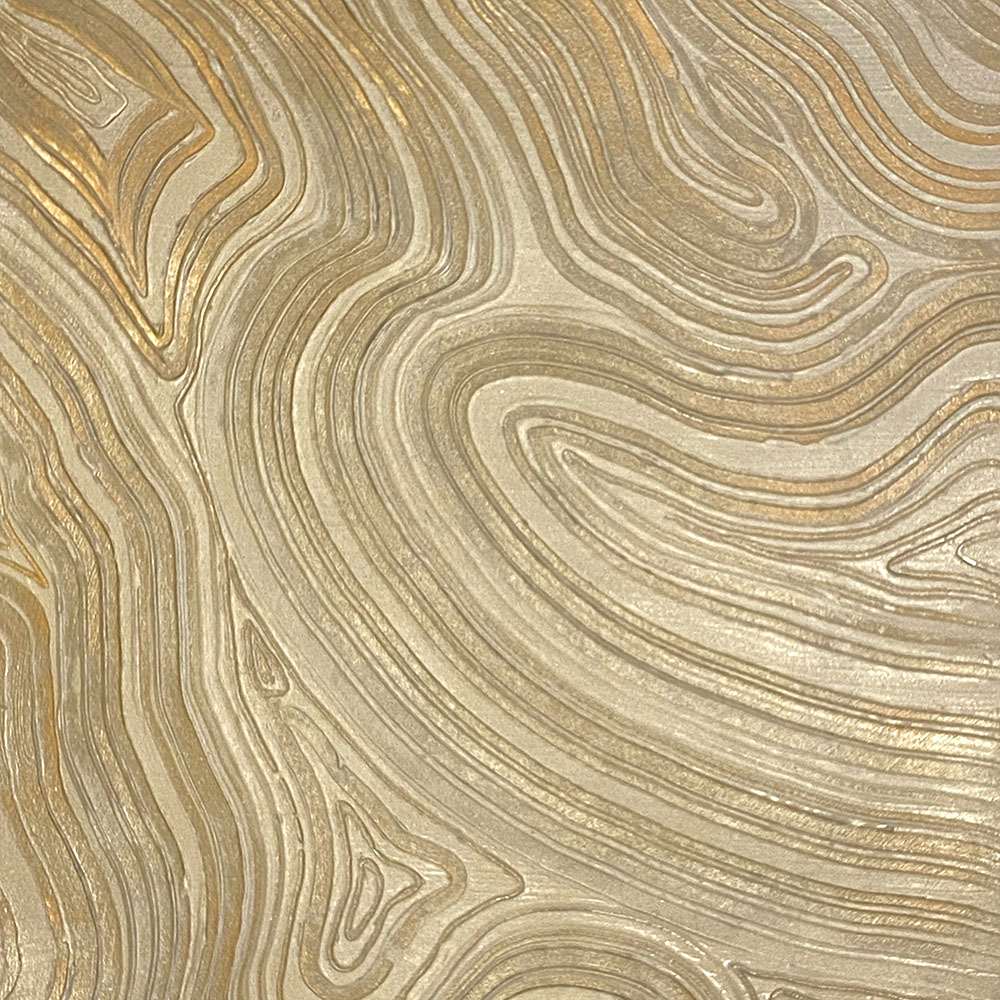
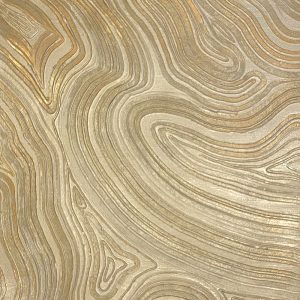
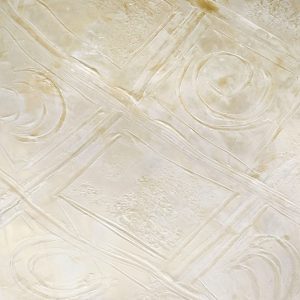
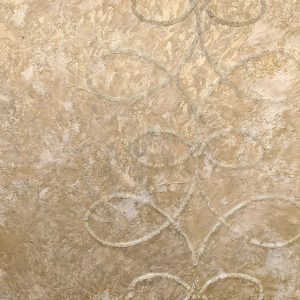
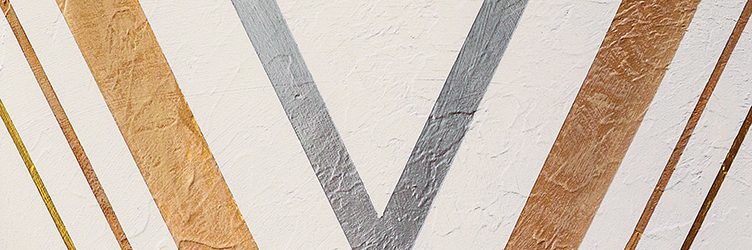
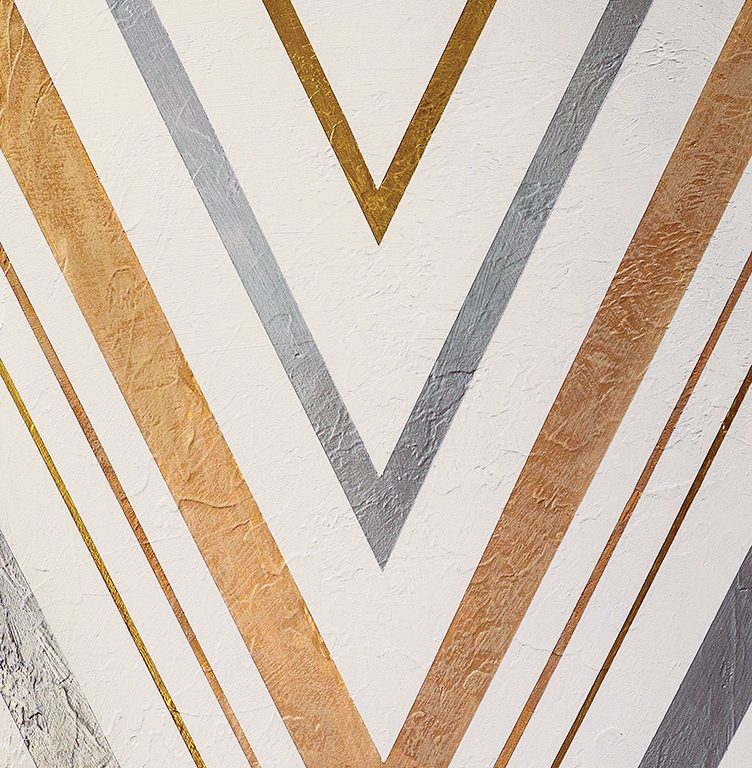
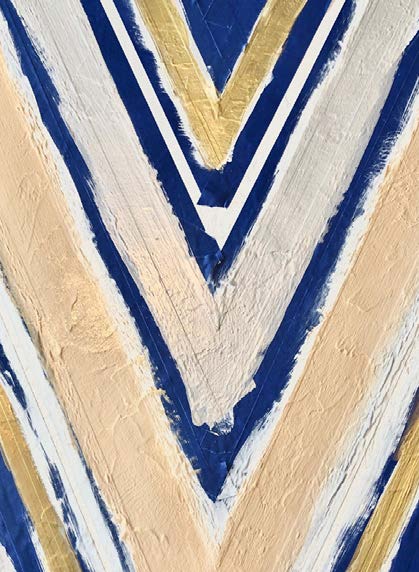
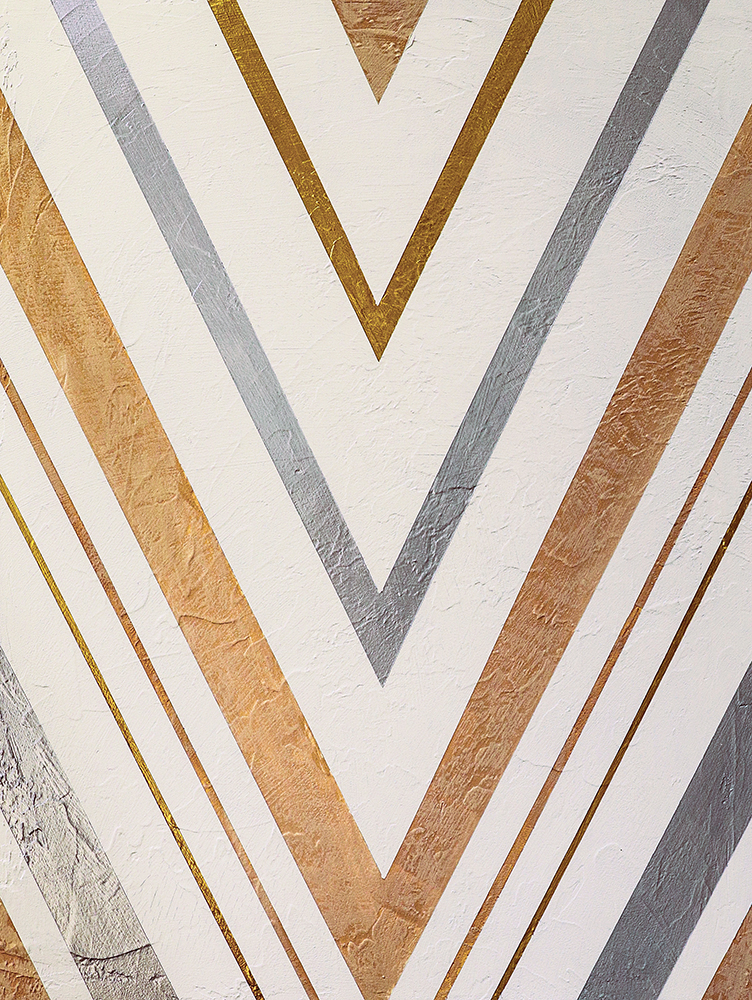
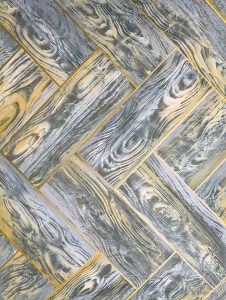
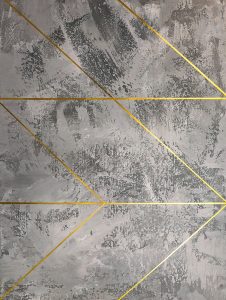
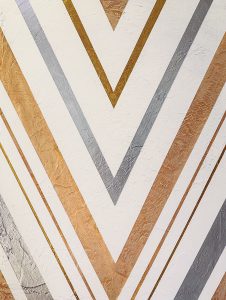
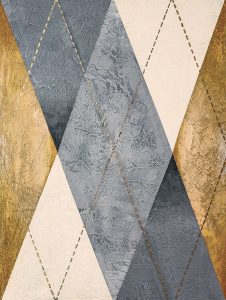
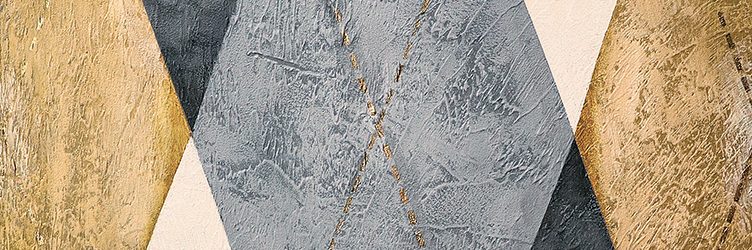
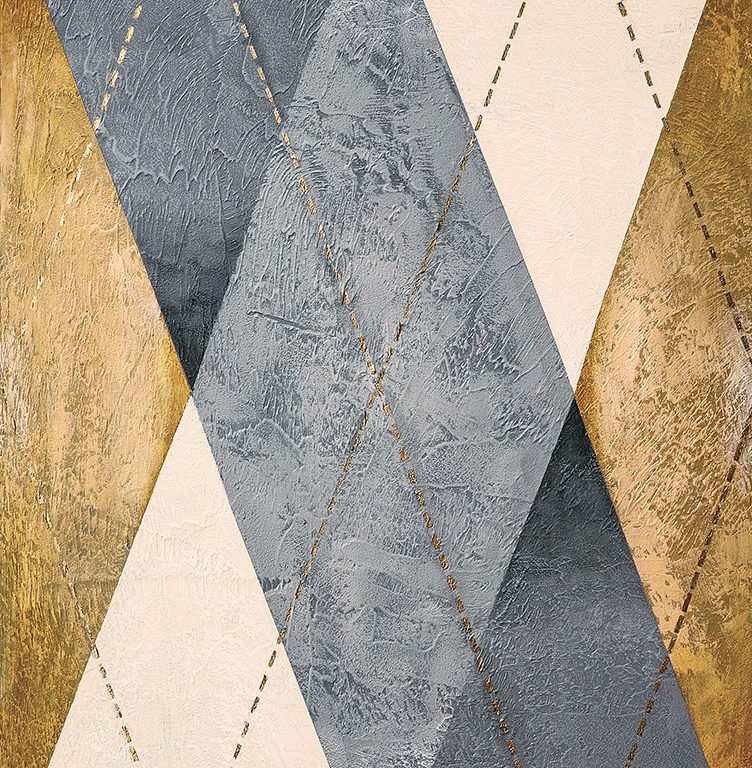
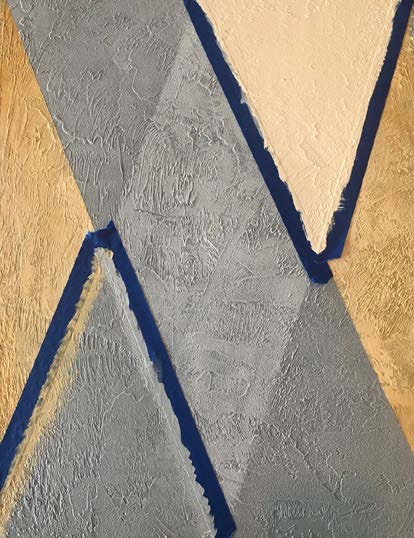
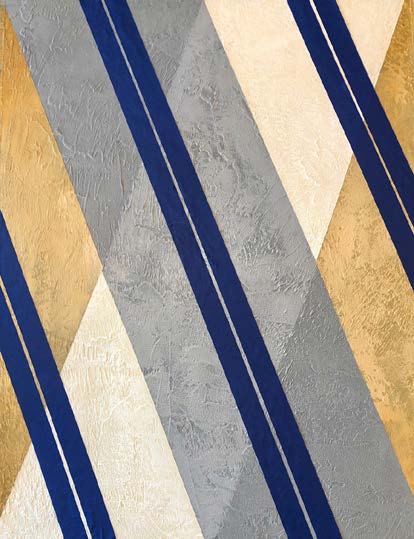
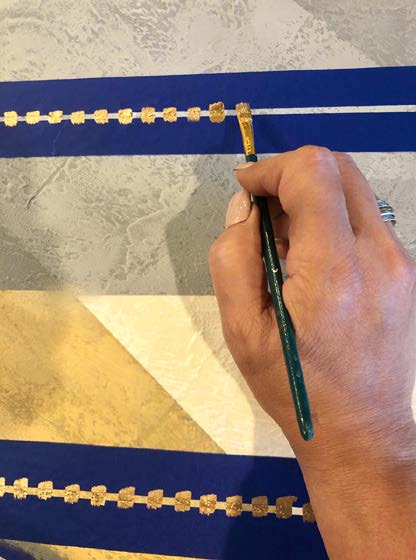
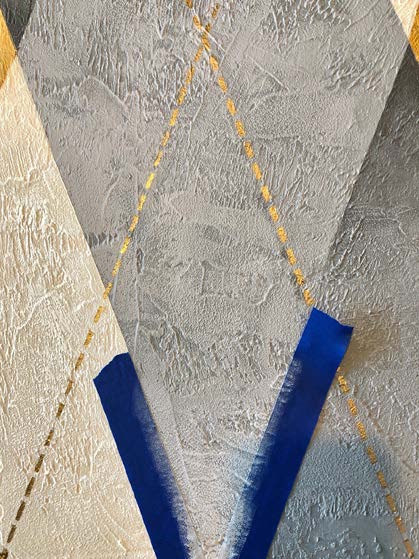
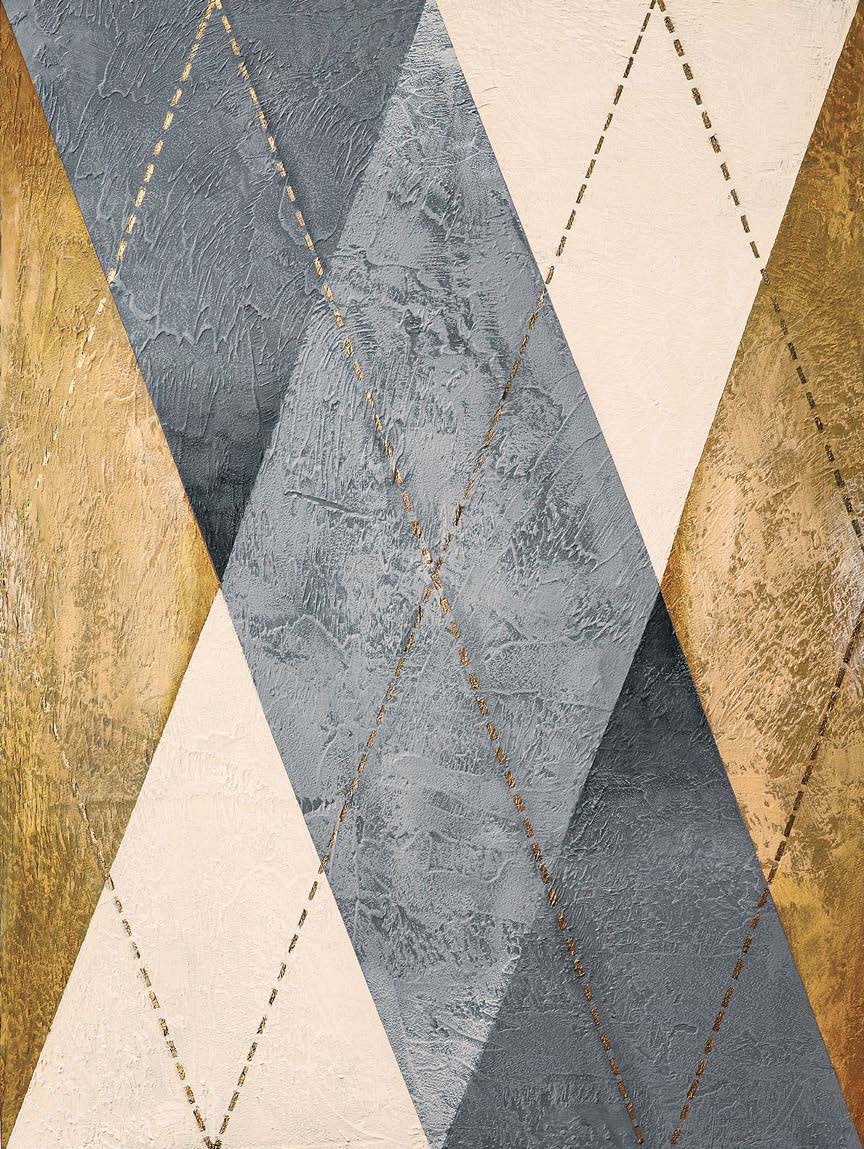
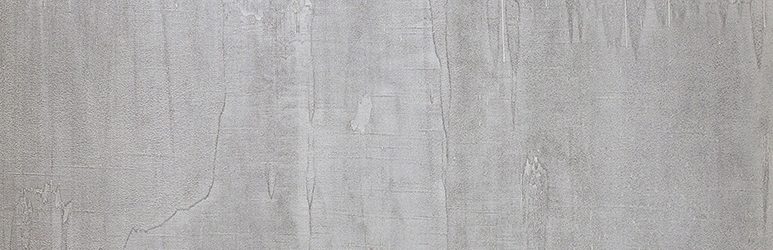
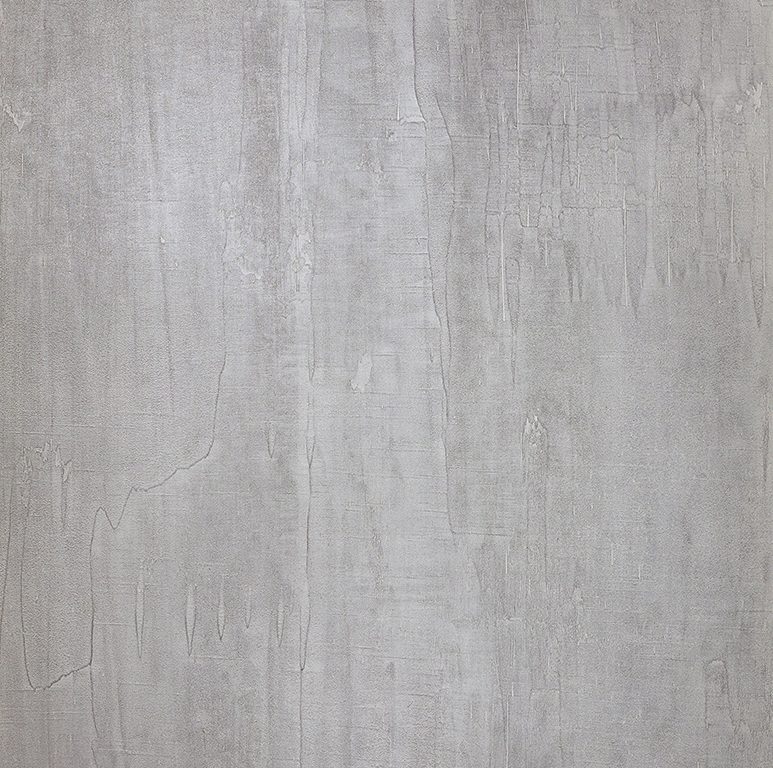
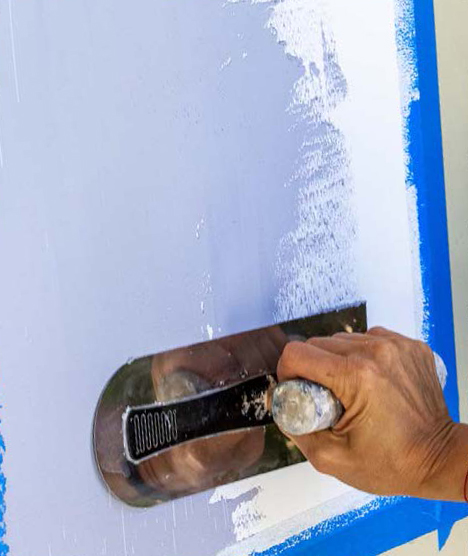
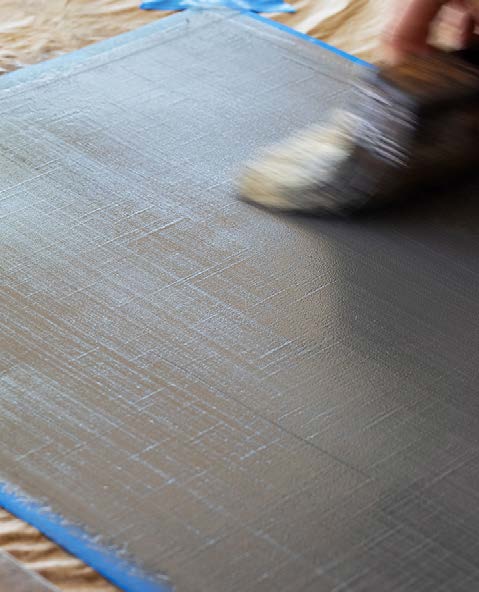
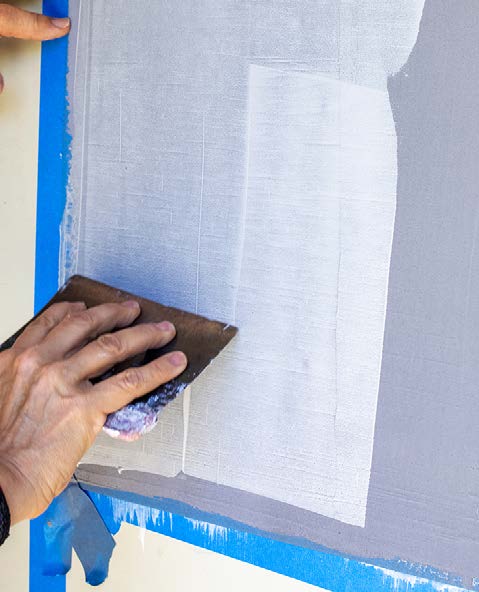
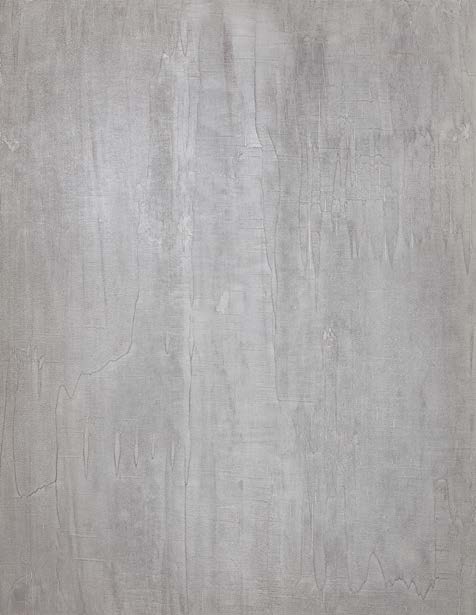
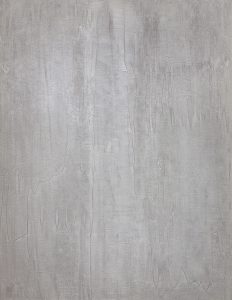
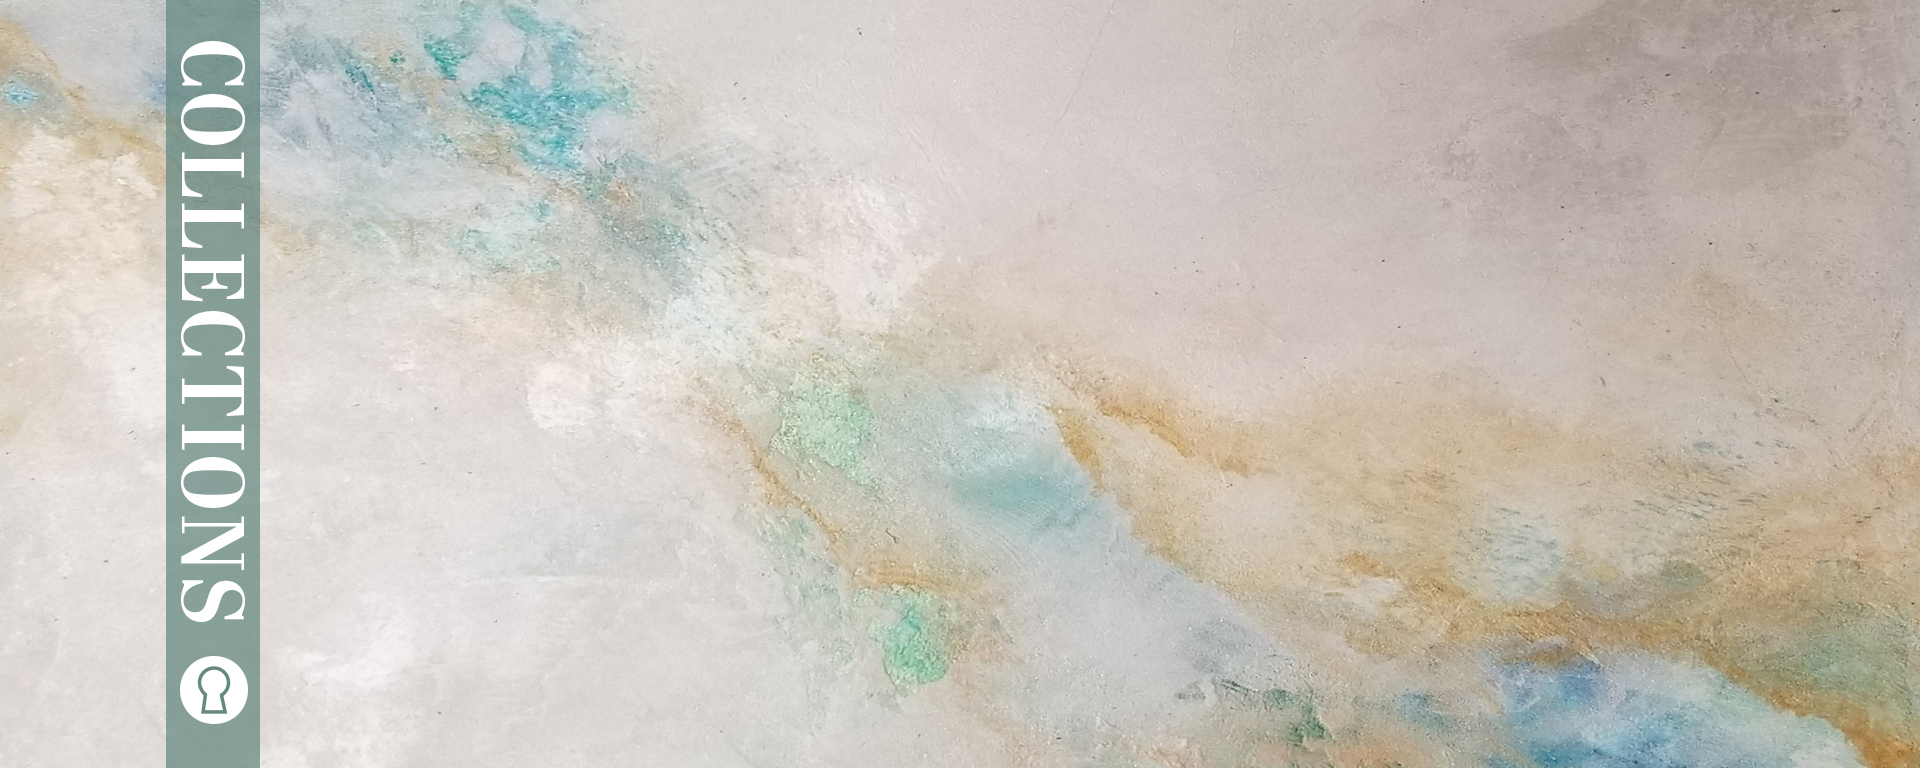
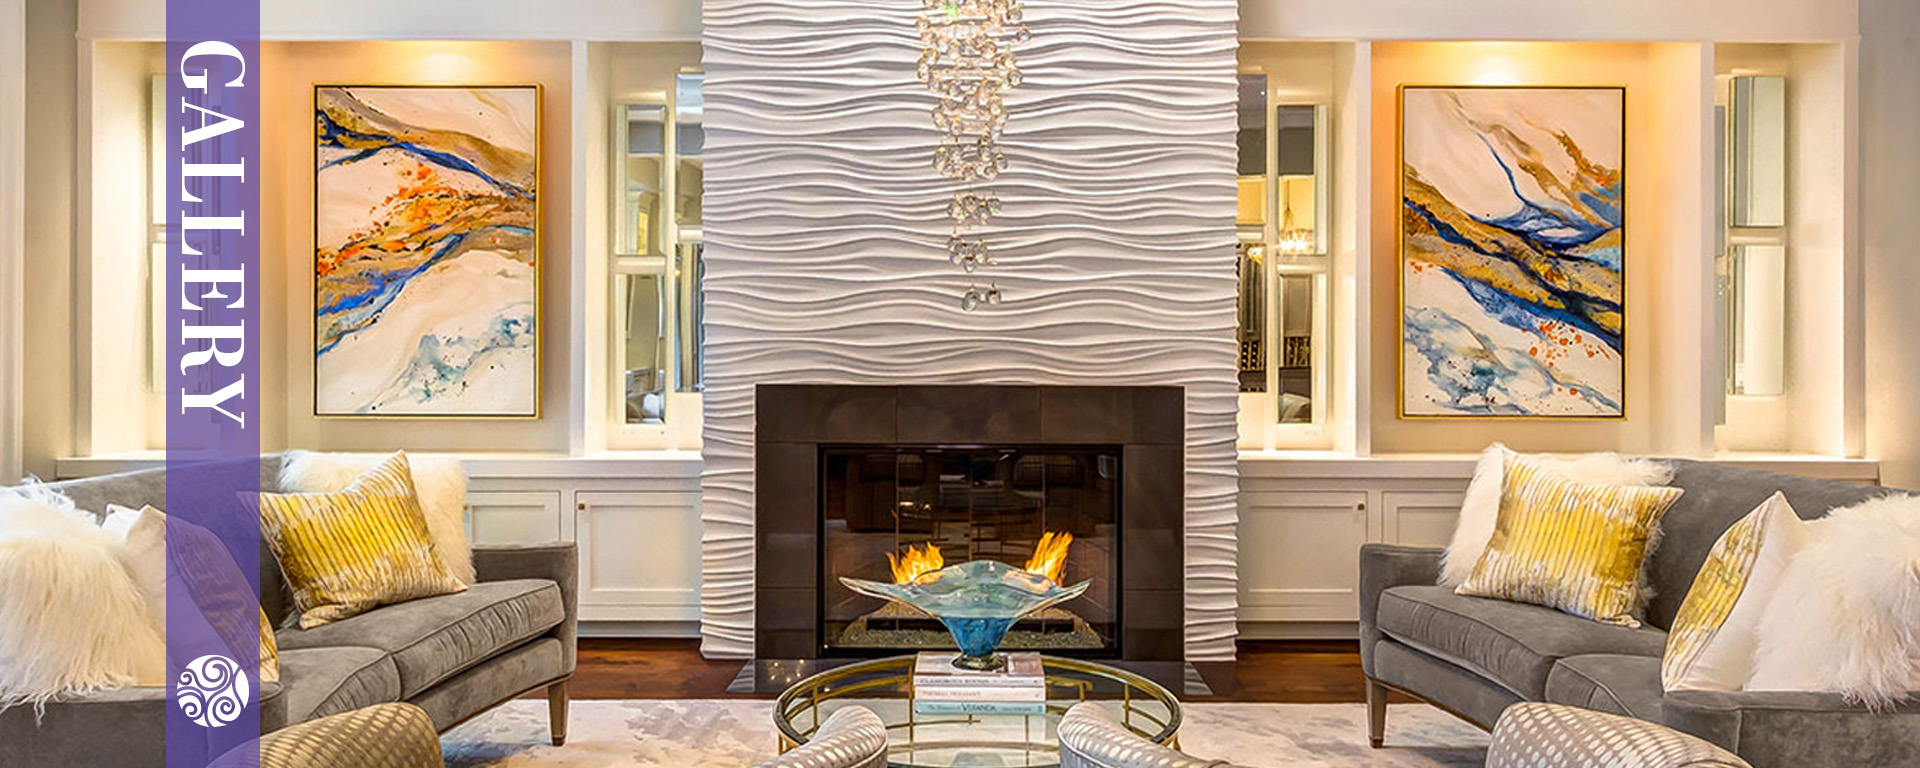
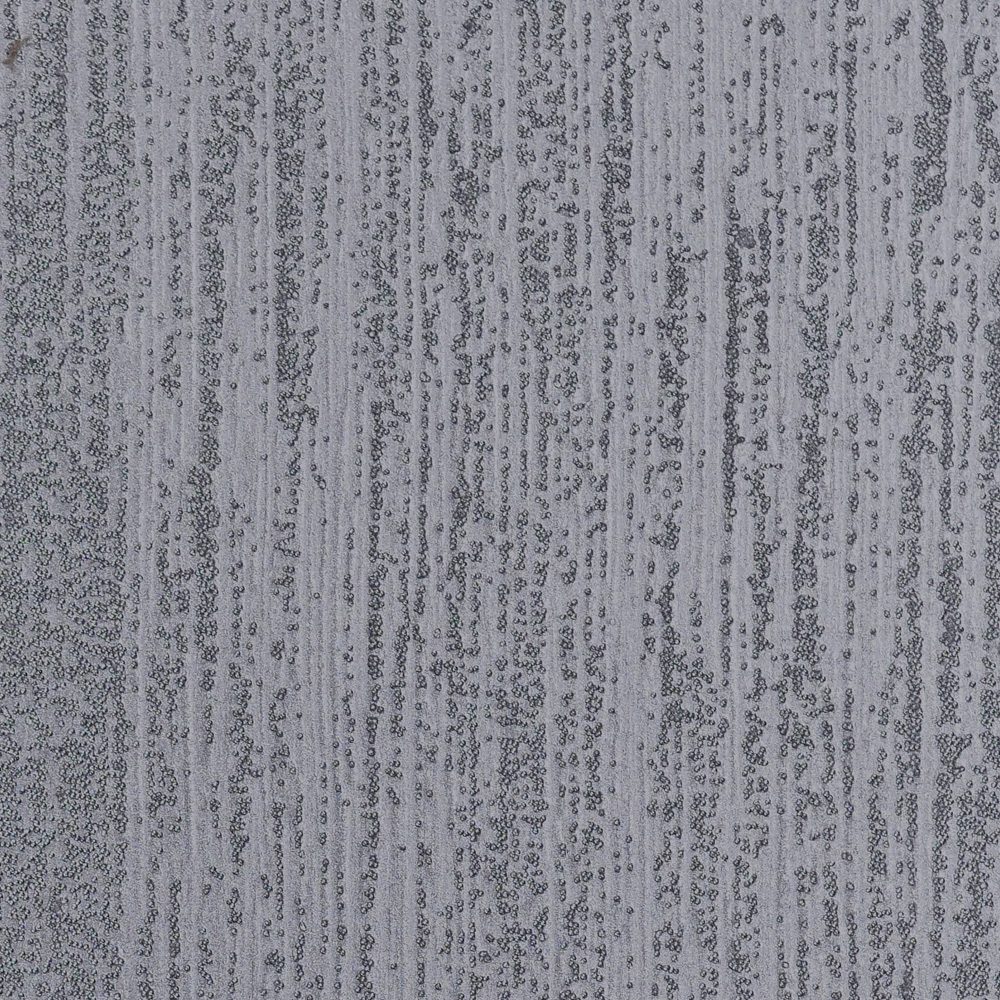
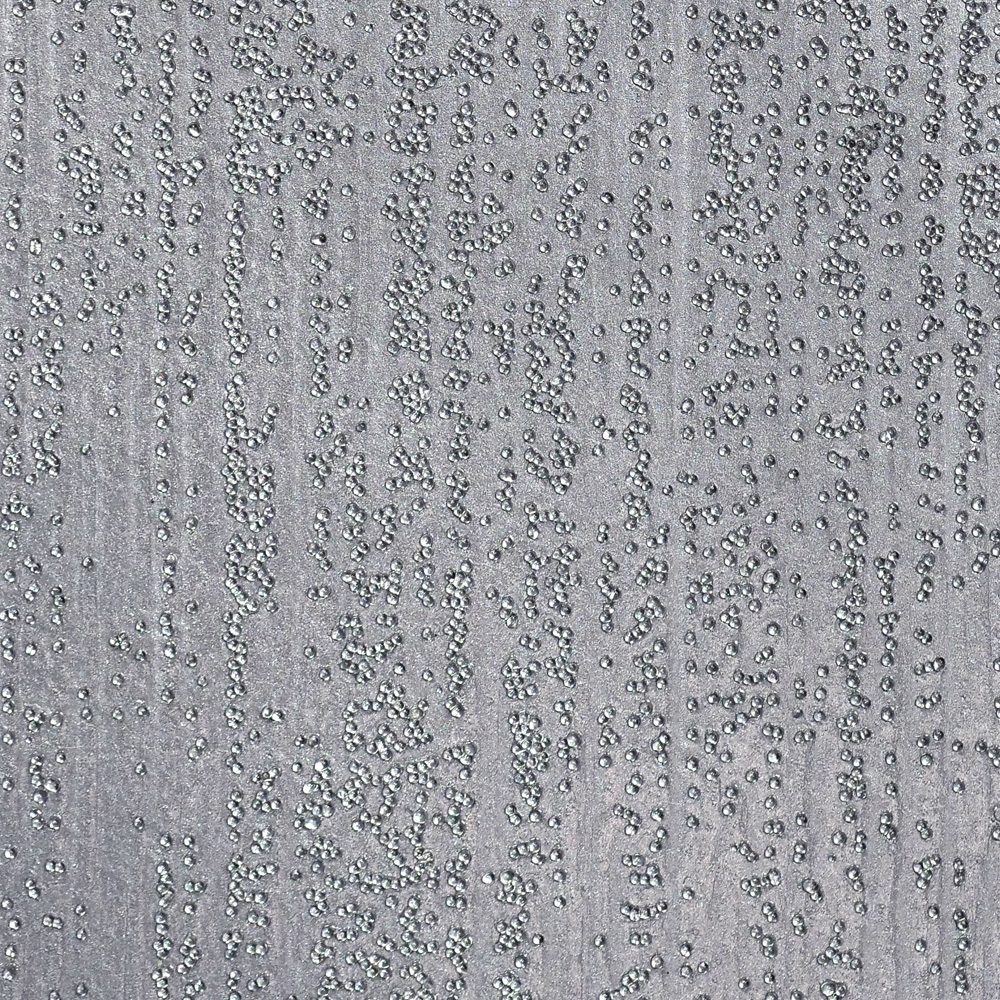
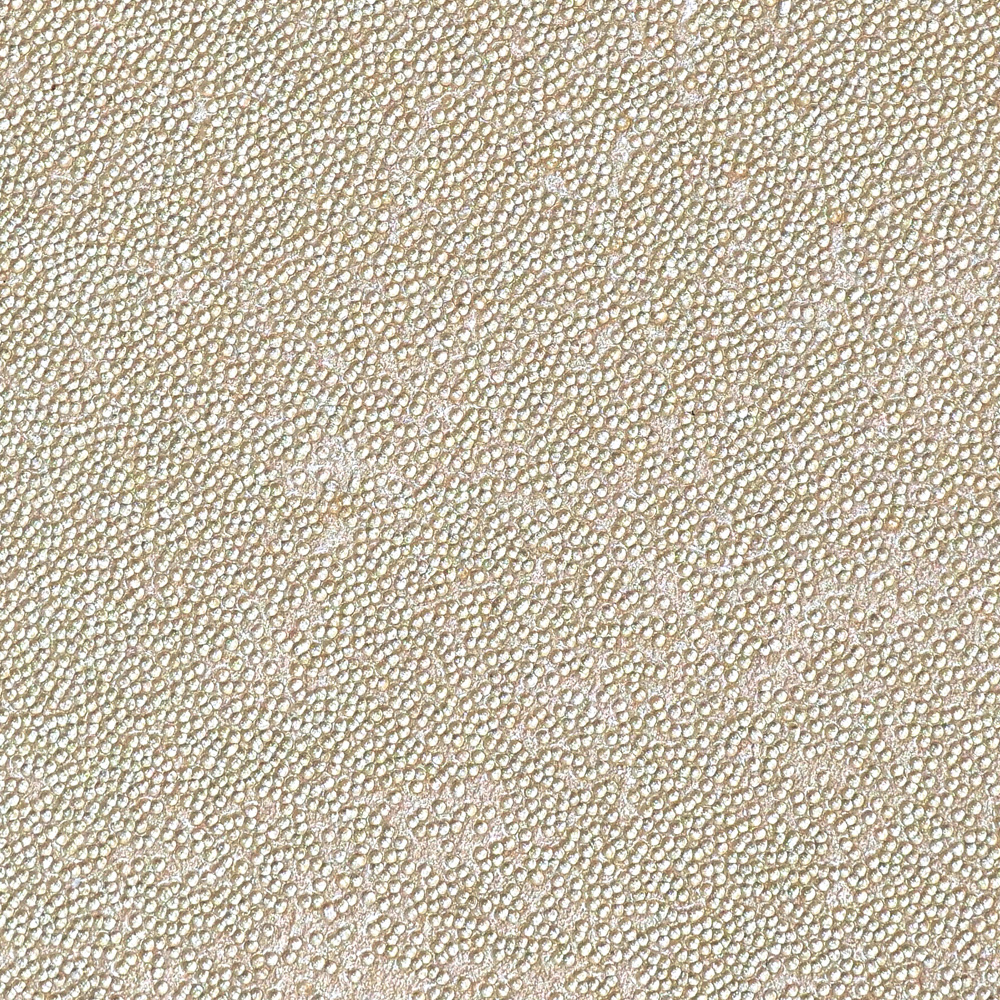
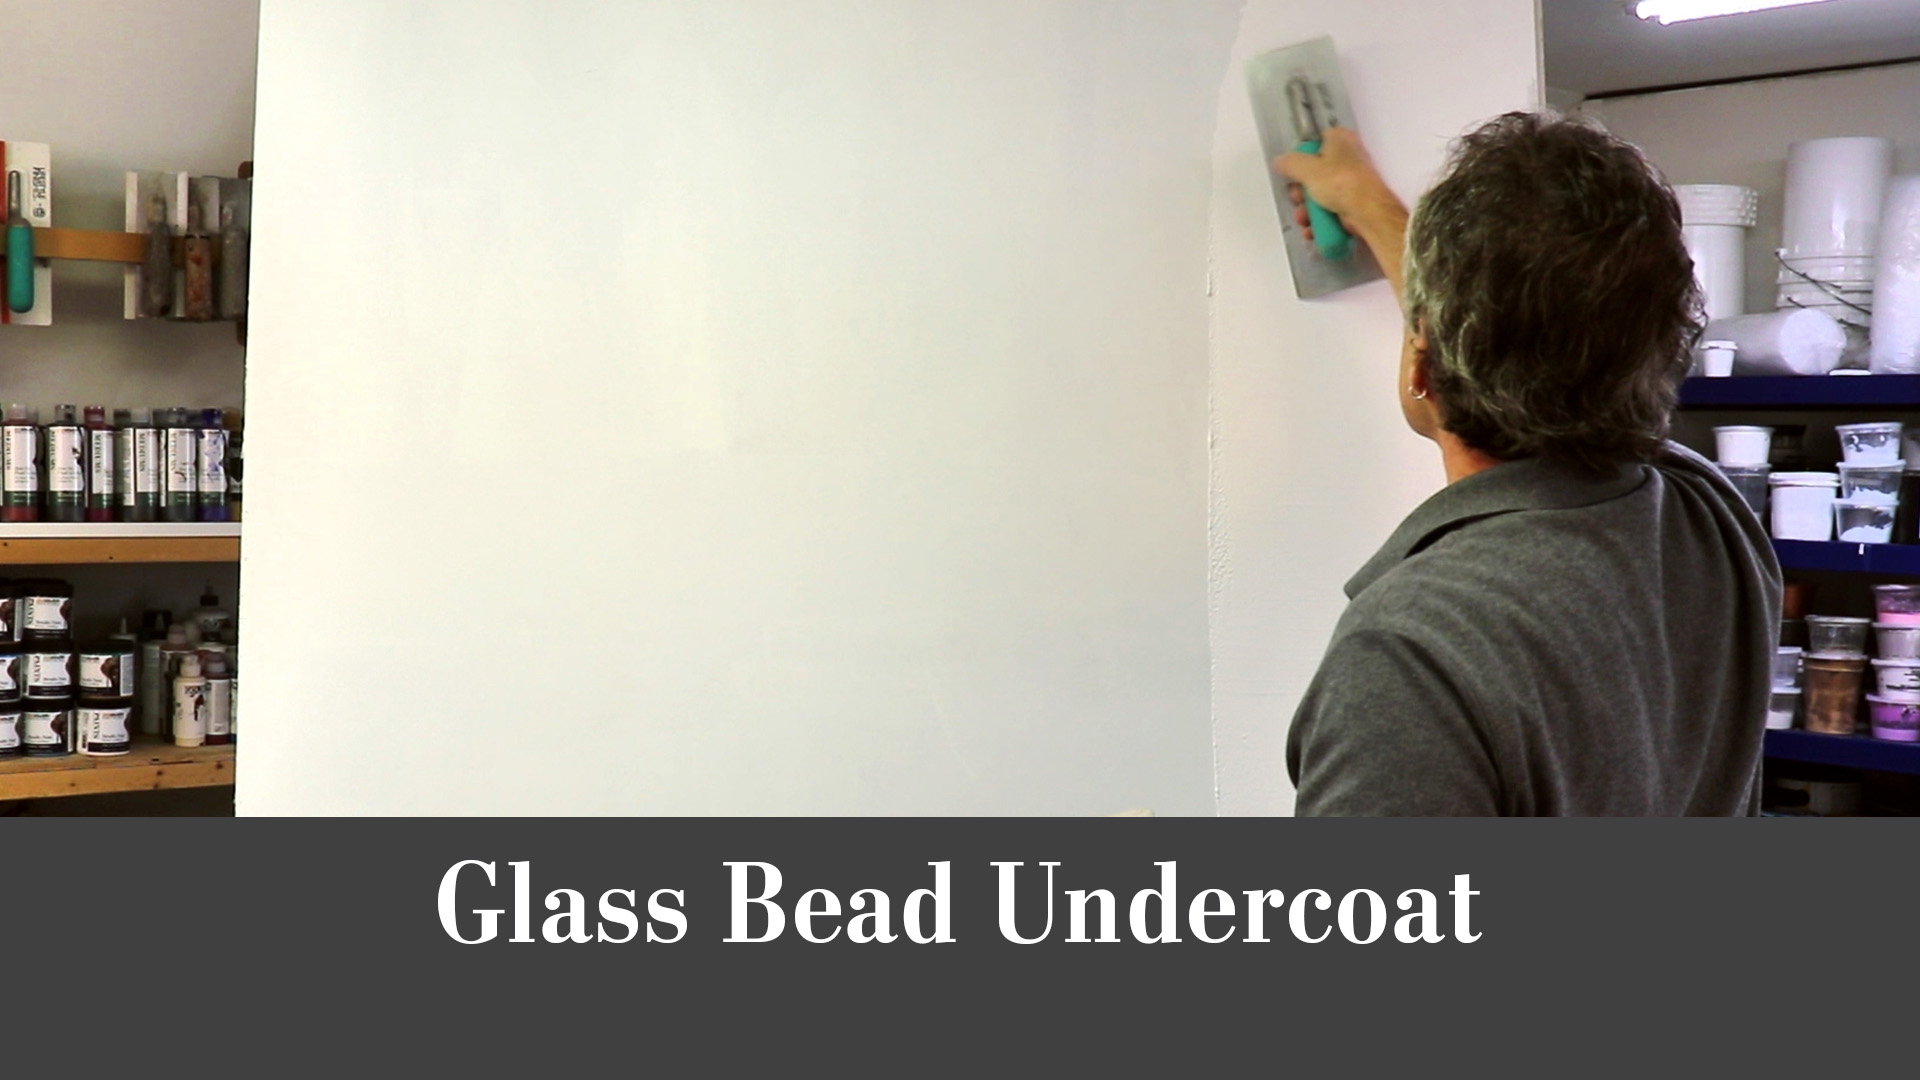
Decorative Finish: Vert de Gris Shadows

Vert de Gris Shadows by True Faux Studio
DECORATIVE FINISH HOW-TO

Vert de Gris Shadows

Artist: True Faux Studio

Share this article

INSTRUCTIONS:

1 | Base coat with Metallic Paint Tint Base Bronze. Apply 2 coats.
(Photo 1)

2 | Creating the Vert de Gris Shadows background:

For the 1st pass: Trowel a 1:1 mix of Metallic Textures Tint Base Pearl and Glazing Gel. Let dry.

For the 2nd pass: Trowel a 2:1 mix of the 1st Pass Mix with a 1:1 mix of Slow Dry Fluid Acrylics Ultramarine Blue and Chromium Oxide Green. Let dry. 

The colors are variable, but keep them soft and diffused. Use a damp sponge to soften both passes.
(Photo 2)

3 | Draw a leaf pattern and cut a two-part stencil.
(Photo 3)

TIP: A one part stencil is fine but the overlaps and fullness of the pattern lends a realistic effect.

4 | Mix Sandstone with Slow Dry Fluid Acrylics Ultramarine Blue, Chromium Oxide Green, and Carbon Black for a gray-brown tone. Apply Sandstone through stencil with 3.5″ Blue Blade Spatula. Pull up the stencil immediately and check for and clean any bleeds. Clean the stencil and let the layer dry.
(Photos 4-5)

5 | If using a two-part stencil, repeat Step 4 with the second stencil overlay. Let dry completely.
(Photo 6)

6 | OPTIONAL: After the Sandstone has dried, you can tone the color of the embossed stencil pattern to taste. We toned it to a warmer color. You have full control of the look and color of the dimensional pattern anytime.
(Photo 7)

Here is the final texture.
(Photo 8)

Decorative Finish: Urban Luxe

Urban Luxe decorative finish
DECORATIVE FINISH HOW-TO

Urban Luxe

Artist: Decorative & Faux Finishes

Share this article

PROJECT SUPPLIES:

INSTRUCTIONS:

1 | Basecoat in Sherwin Williams Folksy Gold satin or color of choice. Let dry.
(Photo 1)

2 | Mix Slow Dry Fluid Acrylics in Carbon Black into the Metallic Texture Tint Base Pearl to a dark charcoal or desired color. Trowel randomly over 70% of surface. Let dry.
(Photo 2)

3 | Roll Foil/Leaf Size adhesive randomly on surface and let set up.
(Photo 3)

4 | Lay down Foil/Leaf squares on sized areas. This sample has groupings of 2 – 4 squares. Let dry.
(Photo 4)

Tip: You could also substitute Golden Paintworks Pre-Mixed Metallic Paint in Silver or Bright Silver randomly on surface.

5 | Mix Weathered Granite with a little Slow Dry Fluid Acrylics in Raw Umber to desired color. Trowel randomly, leaving some of previous steps still showing. Let dry.
(Photo 5)

6 | Mix 2 Sandstone mixtures:

a) Sandstone with a little Slow Dry Fluid Acrylics in Raw Umber, and

b) Sandstone with a little Slow Dry Fluid Acrylics in Carbon Black.

7 | Pop on both colors with a trowel wet on wet over 25 – 30% with previous layers still showing in areas. Do not apply heavily.
(Photo 6)

8 | Lightly blend with a trowel and then a barely damp stain pad or flat sponge. If a lighter look is needed, you can skip trowel a bit of un-tinted Sandstone.
(Photo 7)

9 | Mix Glazing Gel with Slow Dry Fluid Acrylics in Raw Umber and Black to desired color. Tape off random lines across the surface and run product along tape line with a brush. You can use some of your leaf lines as guides. Remove the random tape lines and let dry.
(Photo 8)

10 | Mix Glazing Medium with Slow Dry Fluid Acrylics in Raw Umber to desired color. Add just a little to surface randomly and blend with a barely damp stain pad or flat sponge. Let dry. If desired, roll on Golden Paintworks Clear Topcoat Satin. Here is the final finish.
(Photo 9)

Featured Products

About the Artists
Decorative & Faux Finishes, a decorative arts team, has been in business since 1998 creating custom faux finishes and murals for homeowners, designers, businesses, and contractors in the greater Houston area and beyond. The team has studied under master artisans from all over the world. With dedication to this art, Decorative and Faux Finishes provides experience, talent, and attention to detail. While sensitive to every client’s desired style and budget, they receive the benefit of a certified professional finisher eager to create something special… just for you.

Learn more about Decorative & Faux Finishes in our Behind the Texture artist feature series.

More from this artist

Looking for more inspiration? Click here to view all of the decorative finishes from our Limited Edition Collections.

Decorative Finish: Metallic Raised Faux Bois

Metallic Raised Faux Bois decorative finish
DECORATIVE FINISH HOW-TO

Metallic Raised Faux Bois

Artist: Caroline Lizarraga

Share this article

PROJECT SUPPLIES:

INSTRUCTIONS:

1 | Basecoat with two coats of Moondust Metallic Paint. Let dry.
(Photo 1)

2 | Mix your Sandstone and White Gold Metallic Paint.
(Photo 2)

3 | Apply an even layer of Sandstone over your Moondust Metallic Paint Base with your trowel of choice. Then with a comb, pull your texture through until you are happy with your woodgrain pattern. Let dry.
(Photo 3)

4 | Mix Sheer Glazing Medium with Bright Silver Metallic Paint. Brush a thin layer over all of the design. Let dry.
(Photo 4)

Here is the final finish.
(Photo 5)

Featured Products

About the Artist
With hands permanently covered in plaster and paint, Caroline Lizarraga is happiest working in Old World ways. She trained for her craft in the cobblestoned streets of Florence, Italy, and continues to bring that antiquated sensibility to all of her projects today. You’ll find her on every job site, working each layer of color and detailing solely by hand. She’s passionate not only about creating amazing interior environments but also in helping her clients find and express their own distinctive style. No two jobs are ever alike. Whether it’s a boutique hotel in Napa Valley, an expansive winery estate, or a private residence, her approach is always the same: create a space that is utterly authentic and magically artful.

More from this artist

Looking for more inspiration? Click here to view all of the decorative finishes from our Limited Edition Collections.

Decorative Finish: Ink Blot

Ink Blot paint decorative finish
DECORATIVE FINISH HOW-TO

Ink Blot

Artist: Beth Warnecke

Share this article

PROJECT SUPPLIES:

INSTRUCTIONS:

1 | Basecoat with two coats of Benjamin Moore Graytint, and let dry. Mix Sandstone with Slow Dry Fluid Acrylics in Titanium White (6:1) to lighten the gray color. Trowel on tinted Sandstone in a tight coat, allowing for some movement but leave no noticeable trowel marks. Let dry.
(Photo 1)

2 | Mark on wall with painters tape where you want the blue stenciled patterns and white stenciled patterns to go. Using chalk, chalk in a random pattern of where your blue swirls and movement will go, keeping it organic and flowing.
(Photo 2)

3 | Using the Slow Dry Fluid Acrylics, mix up a small container (1/2 cup for one feature wall) of a blue color that is pleasing to you. Have another container of pure Titanium White available.
(Photo 3)

4 | Dry stencil the round pattern motifs you want blue first. Let dry.
(Photo 4)

5 | Mix two color glaze batches:

a) The rest of the blue mixture with Glazing Medium, about 5:1 ratio; and

b) The Titanium White Slow Dry Fluid Acrylics into the Glazing Medium.

Using your artist brushes and sea sponge, apply the blue glaze to your pre-chalked areas and blend out with a damp rag and badger brush. Apply the white glaze mix above and below your blue glaze to make it an organic and soft movement of color.
(Photos 5-6)

6 | Blend with damp rags and the badger brush until it is pleasing to your eye, adding additional glaze or water where needed. Let dry.
(Photo 7)

7 | Dry stencil the white motifs using straight Titanium White Slow Dry Fluid Acrylics. Let dry.
(Photo 8)

8 | Decide where you want the white drips to come down. Brush in more white glaze to the tops of those areas and shoot with the spray bottle of water. Continue until you get the drip pattern you want. Let dry completely.
(Photo 9)

Here is the final finish.
(Photo 10)

Featured Products

About the Artist
Beth Warnecke is the owner and artist behind Classic Creations Painting, providing beautiful wall and ceiling finishes for commercial and residential spaces in the metro St. Louis, MO area. She has a passion and love for fine finished furniture and cabinetry, which comprises half of her business. Always immersed in the latest design trends and gorgeous pictures, she considers staying up to date with the latest design trends one of her top priorities when bringing timeless beauty into clients’ homes.

Learn more about Beth in our Behind the Texture artist feature series.

More from this artist

Looking for more inspiration? Click here to view all of the decorative finishes from our Limited Edition Collections.

Decorative Finish: Geometric Chic

Geometric Chic by Artkeyologie
DECORATIVE FINISH HOW-TO

Geometric Chic

Artist: Artkeyologie

Share this article

PROJECT SUPPLIES:

INSTRUCTIONS:

1 | Apply Sandstone with a GPW Trowel and let dry.
(Photo 1)

2 | Paint entire surface with flat white paint. Let dry.
(Photo 2)

3 | Lay out your pattern with a 2′ level and a pencil. Draw lines to indicate where to tape.
(Photo 3)

4 | To avoid paint bleed, paint edges of tape with flat white paint to create a seal. Let dry.
(Photo 4)

5 | Paint your colors as you decide.
(Photo 5)

6 | Let dry and pull tape to reveal your masterpiece.
(Photo 6)

Featured Products

About the Artist
Suzy Dominguez started her design career over 30 years ago. She studied graphic design in Los Angeles and London. Soon after traveling around the world with a backpack for a year, she returned to the United States with a dream. Her first business, Studio Graphics concentrated on graphic design for private businesses as well as commercial restaurants and casinos. There she segued her graphics into hand painting walls. Big advertising murals were the projects back then which quickly turned into faux finishing for private homes. Today her licensed and bonded business, Artkeyologie, is the art of soulful living through paint and design. Suzy, currently residing in Phoenix, combines her graphic skills with her hand painted wall techniques and enjoys infusing her clients’ personalities into every project. Follow her on Instagram @artkeyologie and view her work online at artkeyologie.com

More from this artist

Looking for more inspiration? Click here to view all of the decorative finishes from our Limited Edition Collections.

Decorative Finish: Argyle Textile

Argyle Textile by Artkeyologie
DECORATIVE FINISH HOW-TO

Argyle Textile

Artist: Artkeyologie

Share this article

PROJECT SUPPLIES:

INSTRUCTIONS:

1 | Apply Sandstone with a GPW Trowel and let dry.

2 | To create medium gray, mix one part Slow Dry Fluid Acrylic Carbon Black with 4 parts Slow Dry Fluid Acrylic Titanium White. Paint entire surface medium Gray and let dry.
(Photo 1)

3 | Lay out argyle pattern with ruler and pencil.
(Photo 2)

4 | Tape your diamond. Mix medium Gray with one part Slow Dry Fluid Titanium White to create light Gray tone. Lightly go over your middle diamond with light Gray, revealing the Sandstone. Let dry.
(Photo 3)

5 | Tape diamonds for caramel shade. Mix one part Slow Dry Fluid Acrylic Raw Sienna with 2 parts Slow Dry Fluid Acrylic Titanium White and paint the two side diamonds. Let dry.
(Photo 4)

6 | Tape two diagonal diamonds. Mix one part Slow Dry Fluid Acrylic Raw Sienna with 6 parts Slow Dry Fluid Acrylic Titanium White to create a creamy shade. Use tape trick for no bleed. Paint the two diagonal diamonds in the cream shade. Let dry.
(Photo 5)

7 | Measure for stitching to center between diamonds. Tape 1/8″ for stitching lines.
(Photo 6)

8 | With a 1/4″ detail brush, use the “Just Brass” Pre-mixed Metallic Paint to create stitching effect. Let dry and pull tape.
(Photo 7)

9 | Tape tips of diamonds and shade with darker or lighter shade of each color to create dimension. Let dry and pull tape to reveal your masterpiece.
(Photo 8)

Here is the completed finish.
(Photo 9)

Featured Products

About the Artist
Suzy Dominguez started her design career over 30 years ago. She studied graphic design in Los Angeles and London. Soon after traveling around the world with a backpack for a year, she returned to the United States with a dream. Her first business, Studio Graphics concentrated on graphic design for private businesses as well as commercial restaurants and casinos. There she segued her graphics into hand painting walls. Big advertising murals were the projects back then which quickly turned into faux finishing for private homes. Today her licensed and bonded business, Artkeyologie, is the art of soulful living through paint and design. Suzy, currently residing in Phoenix, combines her graphic skills with her hand painted wall techniques and enjoys infusing her clients’ personalities into every project. Follow her on Instagram @artkeyologie and view her work online at artkeyologie.com

More from this artist

Looking for more inspiration? Click here to view all of the decorative finishes from our Limited Edition Collections.

Decorative Finish: Urban Concrete

"Urban Concrete" by Studio By Shauna, Inc.
DECORATIVE FINISH HOW-TO

Urban Concrete

Artist: Studio by Shauna, Inc.

Share this article

PROJECT SUPPLIES:

INSTRUCTIONS:

Simulate the look of concrete on vertical surfaces with ease, and add polish with a silver glint in the overlay. Modern, organic looking, and industrial chic! This finish is fantastic on architectural features such as fireplaces.

1 | Mix Sandstone (Untinted) and Sandstone Purple Agate at a ration of 3:1.

2 | Apply Sandstone all over the surface with a trowel, finishing off the direction of the trowel marks vertically. Trowel this layer smoothly and evenly with minor texture. Allow to dry.
(Photo 1)

3 | Mix a glaze with Glazing Medium and Slow Dry Fluid Acrylic Van Dyke Brown, Slow Dry Fluid Acrylic Carbon Black and a little Slow Dry Fluid Acrylic Titanium White to create a warm mid-tone gray, about a 6 out of 10 in darkness on a gray scale.

4 | Sand the surface lightly to smooth texture and seal the pores of the Sandstone. Spray surface with the water/glaze mixture and even out with a large brush. Apply the gray glaze with a mini roller, finishing off the rolling pattern vertically to minimize pattern. Using a large brush, brush through the glaze vertically a couple of times, offloading the brush on the towel if it becomes loaded with glaze. Then brush through the glaze horizontally to negate any vertical patterning that may be in the glaze, and finish with a final softening of the glaze in the vertical direction. The result should be an even veil of gray color. Allow to dry.
(Photo 2)

5 | Create a mixture of Soapstone and Pre-Mixed Metallic Paint Bright Silver, using a ration of 3:1. Tone the mixture slightly by adding about 5-10% of the above gray glaze mixture. Add an additional 5% Glazing Medium. Using a blue blade spatula or Japan scraper, apply the mixture to the wall and scrape off in vertical movement, leaving a slight haze on the surface.
(Photo 3)

6 | Allow to dry. Here is the completed finish.
(Photo 4)

Note: The metallic in this finish is subtle and adds a designer appeal. For a more authentic concrete finish without the metallic sheen, omit Bright Silver in the Soapstone mix and add a small amount of white with the gray glaze instead. Additionally, this finish is a deeper toned concrete. For a natural light concrete color, use Sandstone Untinted only, omitting the Purple Agate. All other steps remain the same.

Featured Products

Studio By Shauna, Inc.

About the Artist
An artist celebrating over thirty years in the interior design industry, Shauna Oeberst Gallagher found her niche in the world of decorative finishing, marrying her love for both painting and interiors. With an education in Fine Art, and a degree in Interior Architecture, she started her career as an interior designer, then opened her decorative art business 24 years ago. Her work has graced many of the finest homes and businesses in Northern California in styles ranging from historical to contemporary. After teaching at local colleges for several years, she co-founded a decorative art school in 2004 and also began teaching nationally at events and conventions. Shauna has taught well over 1000 students throughout her career, as well as been published by Sunset books, contributed to DIY channel’s House Crashers, and consulted for HGTV on numerous projects. Teaching other artists to excel and enhancing their ability to create beauty in the world is a passion Shauna will continue with soulful direction. Shauna’s greatest joy is being mom to her twins, who motivate and inspire her to thrive in her business of creating sanctuary spaces for clients and making art that creates a connection with the viewer.

More from this artist

Looking for more inspiration? Click here to view all of the decorative finishes from our Limited Edition Collections.

Decorative – Textures

Decorative Products that Inspire

Metallic Paints, Textures, Glazes and Clear Topcoats that allow the professional decorative painter the latitude to create contemporary finishes with products they can trust.

Click a category above to explore the Decorative Products that interest you.

TEXTURES

Golden Paintworks® produces an intriguing, eclectic series of architectural Textures. As a group they are all water based, tintable, acrylic coatings but each one has its own personality and unique decorative qualities. 

By clicking the button below, you will be redirected to our eCommerce site.

Metallic Texture Tintable Bases

Golden Paintworks’ two Metallic Texture Tint Bases are the foundation for creating our Pre-Tinted Metallic Texture colors, as well as custom tinting in the studio or jobsite. We recommend using small amounts of colorant, Slow Dry Fluid Acrylic colors or mixing in Metallic Paint colors to create your own palette. Both the Pearl Tint Base and the Gold Tint Base can be used on their own as a bright and lively pearl or a brilliant gold. Each color will produce a soft, metallic sparkle with varied sheens and movement across the finish. Traditionally applied by trowel, the final finish requires no burnishing or top coating, which adds to its popularity. Available in Quart & Gallon sizes.

Color Options

Tutorials & Application Examples

Metallic Texture Pre-Tinted Colors

Golden Paintworks® Pre-Tinted Metallic Textures are water based, acrylic, highly pigmented with pearlescent, mica particles and tinted on-demand. Each color will produce a soft, metallic sparkle with varied sheens and movement across the finish. Traditionally applied by trowel, the final finish requires no burnishing or top coating, which adds to its popularity. Available in Quart & Gallon sizes.

Color Options

Venetian Plaster Tint Base

Golden Paintworks® Venetian Plaster Tintable Base is the foundation for creating our Pre-Tinted Venetian Plaster colors as well as custom tinting in the studio or jobsite. It contains enough Titanium Dioxide that it can be used as a “White” or creating very light tints. However, it can easily be tinted to mid-tone colors. We recommend using controlled colorants or dispersed pigments to tint the product. Applied by trowel in thin layers, then burnished by applying pressure to the trowel’s edge while drying will produce a highly polished, marble-like finish. Available in Quart & Gallon sizes.

Color Options

Tutorials & Application Examples

Venetian Plaster Pre-Tinted Colors

Golden Paintworks® Pre-Tinted Venetian Plaster is an acrylic plaster, which is uniquely easy to burnish. Applied by trowel in thin layers, then burnished by applying pressure to the trowel’s edge while drying will produce a highly polished, marble-like finish. Available in Quart & Gallon sizes tinted on-demand.

Color Options

Soapstone Tint Base

Golden Paintworks® Soapstone Tint Base is the foundation for creating our Soapstone Pre-Tinted colors, as well as custom tinting in the studio or jobsite. Its versatile nature allows it to be intermixed with other decorative products for creating a truly unique finish. Soapstone can be mixed with pre-tinted flat architectural paint to create a color, or use controlled colorants or pigment dispersions. When trowel applied, it exhibits a subtle movement of color across the surface with little to no sheen. It contains no Titanium Dioxide so colors are rich and vibrant. A great product for producing dimensional ornament without cracking. When dry, it has ample holdout for over-glazing, painting or additional layers of Texture.  Available in Quart & Gallon sizes.

Color Options

Tutorials & Application Examples

Soapstone Pre-Tinted Colors

Golden Paintworks® Soapstone is a unique “cousin” of Venetian Plaster. When trowel applied, it exhibits a subtle movement of color across the surface with little to no sheen. It contains no Titanium Dioxide so colors are rich and vibrant. A great product for producing dimensional ornament without cracking. When dry, it has ample holdout for over-glazing, painting or additional layers of Texture. Available in Quart & Gallon sizes tinted on-demand.

Color Options

Sandstone Tint Base

Golden Paintworks® Sandstone Tint Base is the foundation for creating our Sandstone Pre-Tinted colors, as well as custom tinting in the studio or jobsite. It is a light gray, tintable, acrylic texture with a sandy, slightly course, uniform aggregate that can be left rough or troweled smooth, depending on the desired finish. When dry, it holds glazes well, yet offers time to work a colored glaze before it sets. Sandstone can be colored with paint up to 25% of its volume without affecting its working properties. A wide variety of finishes, including faux concrete, can be achieved. Available in Quart & Gallon sizes.

Color Options

Tutorials & Application Examples

Sandstone Pre-Tinted Colors

Golden Paintworks® Sandstone is a versatile acrylic texture with a sandy, slightly course, uniform aggregate that can be left rough or troweled smooth, depending on the desired finish. The 10 Pre-Tinted Colors were derived from natural earth colors, which are always in style and make excellent ground colors for glazing. When dry, it holds glazes well, yet offers time to work a colored glaze before it sets. A wide variety of finishes, including faux concrete, can be achieved. Available in Quart & Gallon sizes tinted on-demand.

Color Options

Fresco

Fresco Tint Base

Golden Paintworks® Fresco Tint Base is a uniform, bright white, absorbent material that readily accepts paints, stains and glazes while retaining the dry, matte appearance of stained or colored plaster. It can be left rough or troweled smooth, depending on the desired finish. Fresco can be tinted to light or deep colors from a single base. Available in Quart & Gallon sizes.

Color Options

Tutorials & Application Examples

Fresco

Fresco Pre-Tinted Colors

Golden Paintworks® Fresco is a versatile, bright white, absorbent acrylic texture that’s easily tinted to a range of light to dark colors, while retaining a matte finish. The 11 Pre-Tinted Colors were inspired by the adobe architecture and desert areas of the Southwest United States, Troweled smooth or left rough, Fresco is applicable to a wide variety of modern plaster finishes. Available in Quart & Gallon sizes tinted on-demand. 

Color Options

(NEW!) Acrylic Limewash Tint Base

Golden Paintworks® Acrylic Limewash is a translucent, off-white, matte material with a subtle amount of texture that emulates a traditional limewash finish for a warm, old-world look. The final finish is uniquely soft to the touch. May be used un-tinted for a “white-wash” look or may be tinted to a wide range of colors with waterborne colorants or pigment dispersions. Use on walls, ceilings, furniture and trim. For interior use. Available in Quart & Gallon sizes.

Color Options

Tutorials & Application Examples

(NEW!) Acrylic Limewash Pre-Tinted Colors

Golden Paintworks® Acrylic Limewash is a translucent, matte material with a subtle amount of texture that emulates a traditional limewash finish for a warm, old-world look. The final finish is uniquely soft to the touch. May be tinted to a wide range of colors with waterborne colorants or pigment dispersions. Easy to apply, use on walls, ceilings, furniture and trim. For interior use. Available in Quart & Gallon sizes tinted on-demand. 

Color Options

Glass Bead Gel

Golden Paintworks® Glass Bead Gel is a decorative, water based, acrylic gel medium that dries clear and contains a high concentration of small, clear glass beads. The clarity allows any color underneath to show through, while the glass beads reflect light in a sparkling cascade. Available in Quart & Gallon sizes.

Tutorials & Application Examples

Glass Bead Gel XL

Golden Paintworks® Glass Bead Gel XL is a decorative, water based, acrylic gel medium that dries clear and contains a high concentration of XL size clear glass beads. The clarity allows any color underneath to show through, while the glass beads reflect light in a sparkling cascade. Available in Quart & Gallon sizes.

Tutorials & Application Examples

Glass Bead Undercoat

Golden Paintworks® Glass Bead Undercoat is an opaque, white, tintable, acrylic texture with a sandy, coarse aggregate that will not crush and can be applied by trowel or roller. The sandy texture grabs the glass beads and allows for a thin, even coat of beads. For best results, apply a coat of Metallic Paint before applying the Glass Bead Gels. Available in Quart & Gallon sizes.

Tutorials & Application Examples

Weathered Granite

Golden Paintworks® Weathered Granite is a unique, acrylic, ready-to-use, granite-like material that contains a crushable, colored aggregate in a warm-white base. Apply with a Plastic Trowel to retain its original color and coarseness with a peppery, grained stone finish. If applied with a Stainless Steel Trowel, the crushable aggregate can be worked by adding pressure to deepen the base color and create a subtle, variegated finish. Available in Quart & Gallon sizes.

Tutorials & Application Examples

Application Tools

Application Tools

At Golden Paintworks, we believe the best decorative finishes start with the best products, applied with the best tools available. That’s why we offer PAVAN trowels from Italy.

  • PAVAN Trapezoid Stainless Steel Trowels contain a special stainless alloy that minimizes metal abrasion. The Inox Blade has rounded corners and tapered edges with a welded, hand-friendly synthetic grip.
  • Our PAVAN Specialty Trapezoid Plastic Trowel is made from plastic-welded and reinforced, white, Sicodur Plastic. It has straight edges, rounded corners, and the same hand-friendly synthetic grip as the Steel Trowels. Perfect for final coats that have a tendency to metal-mark.
  • For small, tight working areas, we offer Blue Blade Spatulas, which are great for applying Venetian Plasters, especially around door jams and windows. Blued Steel prevents rusting of the blade.

Get Inspired

Visit our Inspiration Section to see what’s Featured this month, download unique finishing techniques from our curated Collections, view our Gallery for inspiration and learn how to complete the look with our video Tutorials.